Are you tired of searching for the perfect beanie that fits just right and matches your style? Do you find yourself frustrated with overpriced, mass-produced hats that lack personality? Many people struggle to find a beanie that’s both comfortable and unique.
Imagine spending hours shopping for a beanie, only to end up with one that’s too tight, too loose, or just doesn’t look quite right. The disappointment of wasting money on a hat that doesn’t meet your expectations can be disheartening. You might even feel like you’re settling for less than what you really want.
But there’s a solution that’s both fun and rewarding: you can crochet a beanie on your own! This step-by-step guide will show you how to create a custom-fit beanie that’s perfect for you. From choosing the right yarn to mastering simple stitches, you’ll learn everything you need to know to make a cozy, stylish hat. By the end of this project, you’ll have a beanie that’s not only warm and comfortable but also uniquely yours. Let’s get started on your crochet journey!
Table of Contents
Why Crochet a Beanie: Benefits and Fun
Crocheting a beanie is a rewarding and practical project for all skill levels. Beanies are versatile accessories that keep your head warm during colder months while adding a stylish touch to your outfit. Handmade beanies are thoughtful and personal creations that can be customized to suit anyone’s taste. The Classic Beanie is also a great quick crochet gift you can make in a weekend!
Crocheting a beanie is also an excellent way to relax and unwind. The repetitive motions of crochet can help reduce stress and improve focus, making it a therapeutic hobby. Plus, finishing a beanie gives you a sense of accomplishment, especially when you see someone wearing your creation with pride.
Beanies are quick projects that allow you to experiment with different stitches, yarns, and designs. From chunky ribbed patterns to lightweight slouchy styles, there’s no limit to the creativity you can explore. Best of all, they’re beginner-friendly, so even if you’re new to crochet, you can easily create a beautiful and functional accessory in just a few hours.
Choosing the Right Yarn and Hook for Your Beanie
The yarn and hook you choose play a big role in how your beanie turns out. For cozy winter hats, bulky or super bulky yarns are ideal because they work up quickly and provide extra warmth. Popular options include Lion Brand Wool-Ease Thick & Quick and Bernat Softee Chunky. These yarns are soft, durable, and available in a variety of colors to match your style.
When selecting your hook, go for larger sizes like an 8mm (US L-11) or 9mm hook if you’re using bulky yarn. Larger hooks create bigger stitches, which means your beanie will come together faster. If you’re using medium-weight yarn, a 6mm (US J) hook is often recommended for achieving the right tension and stitch definition.
Don’t forget to check your gauge before starting! A gauge swatch ensures your stitches match the pattern’s measurements, so your beanie fits perfectly. Adjust your hook size if needed—using a smaller hook will tighten your stitches, while a larger hook will loosen them. This simple step can make all the difference in creating a well-fitting beanie.
Essential Tools You’ll Need to Get Started
To crochet your beanie, you’ll need just a few basic tools. First, you’ll need a crochet hook—choose the size based on the yarn you’re using, such as an 8mm hook for bulky yarn or a 6mm hook for medium-weight yarn. A yarn needle is essential for weaving in loose ends once your beanie is complete.
Sharp scissors are another must-have for cutting yarn cleanly and efficiently. If you plan to add embellishments like pom-poms to your beanie, consider getting a pom-pom maker or using cardboard to create them manually. Stitch markers can also come in handy for keeping track of rounds or marking increases and decreases in your pattern.
Lastly, having a measuring tape is crucial for checking the size of your beanie as you work. This ensures it fits properly when finished. With these tools by your side, you’ll have everything you need to create a classic crochet beanie that’s stylish and functional!
Simple Crochet Stitches for Beanie Beginners
Starting with simple stitches is key to creating a beginner-friendly beanie. The single crochet (sc) is one of the easiest stitches to learn and creates a dense, warm fabric. To make this stitch, insert your hook into the stitch, yarn over, pull through, yarn over again, and pull through both loops. It’s perfect for beanies that need a snug fit and extra warmth.
The half double crochet (hdc) is another great option for beginners. It’s slightly taller than the single crochet, which means your beanie will work up faster while still providing good coverage. To make this stitch, yarn over, insert your hook into the stitch, yarn over again, pull through all three loops on your hook. The hdc creates a smooth texture that’s ideal for classic beanies.
For those looking to add a bit more height and stretch to their beanie, the double crochet (dc) is a fantastic choice. This stitch works up quickly and creates a looser fabric, making it great for slouchy or lightweight beanies. To make a double crochet, yarn over, insert your hook into the stitch, yarn over again, pull through two loops, then yarn over and pull through the last two loops. Mastering these three stitches will give you all the tools you need to create a beautiful beginner-friendly beanie.
How to Start a Beanie Using a Magic Circle
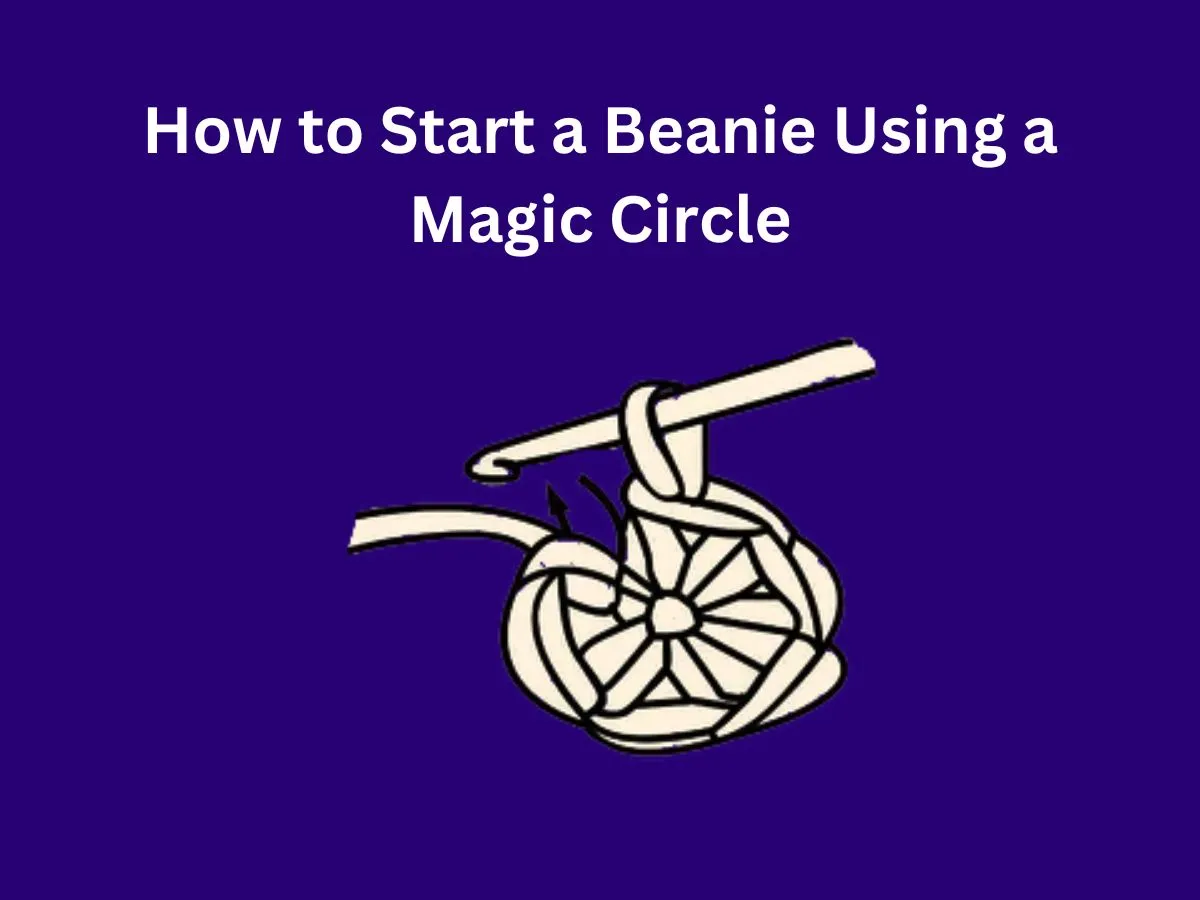
The magic circle is an essential technique for starting a beanie seamlessly. To create one, wrap the yarn around your fingers to form a loop and hold it in place. Insert your crochet hook under both strands of the loop, yarn over, and pull through to create a small circle. Chain one or two stitches to secure the circle before working into it.
Once your magic circle is ready, you’ll begin crocheting directly into it. For most beanies, you’ll start with 10-12 stitches in the circle using single crochet or double crochet stitches. As you work into the loop, make sure to keep your stitches evenly spaced around the circle to create a flat base for your beanie. After completing the first round of stitches, gently pull on the loose end of the yarn to tighten the circle and close any gaps in the center. New to the magic circle? Check out Understanding Crochet Patterns: A Beginner’s Guide to get more insight into how patterns use this technique.
The magic circle is not only beginner-friendly but also ensures that there’s no hole at the top of your beanie. If you find it tricky at first, practice wrapping and tightening until you feel comfortable with the technique. Once mastered, this method makes starting any top-down beanie project quick and easy.
Shaping Your Beanie: Increases and Decreases
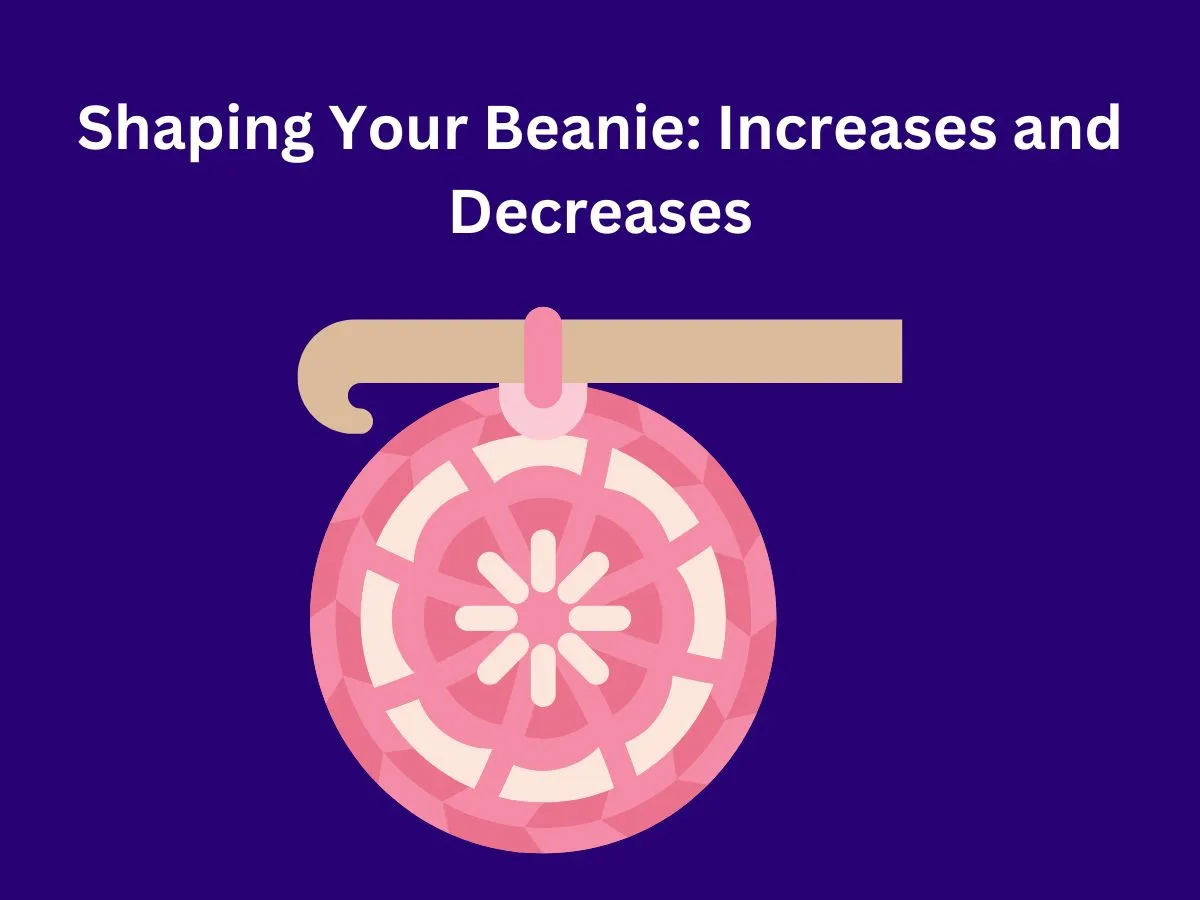
Shaping your beanie involves strategically increasing and decreasing stitches to create its structure. At the start of your project, increases are used to expand the crown of the beanie evenly. For example, if you begin with 10 double crochets in your magic circle, you’ll add 10 more stitches in each subsequent round by working two stitches into every previous stitch (an increase). This ensures that your beanie grows outward in a flat circle until it reaches the desired width for the crown.
Once you’ve reached the correct crown diameter—typically 6-7 inches for adults—you’ll stop increasing and start working evenly in rounds without adding stitches. This creates the sides of your beanie and gives it its classic shape as it begins to curve downward naturally. If you’re making a slouchy beanie or need extra length, simply add more rounds until it reaches your desired size.
Decreases are used when shaping specific styles like fitted or tapered beanies. To decrease stitches evenly across a round, work two stitches together by inserting your hook into one stitch, pulling up a loop, then inserting it into the next stitch before completing them as one stitch (a decrease). This technique helps create snug-fitting edges or unique design elements while maintaining symmetry throughout your project.
Tips for Measuring and Sizing Your Beanie
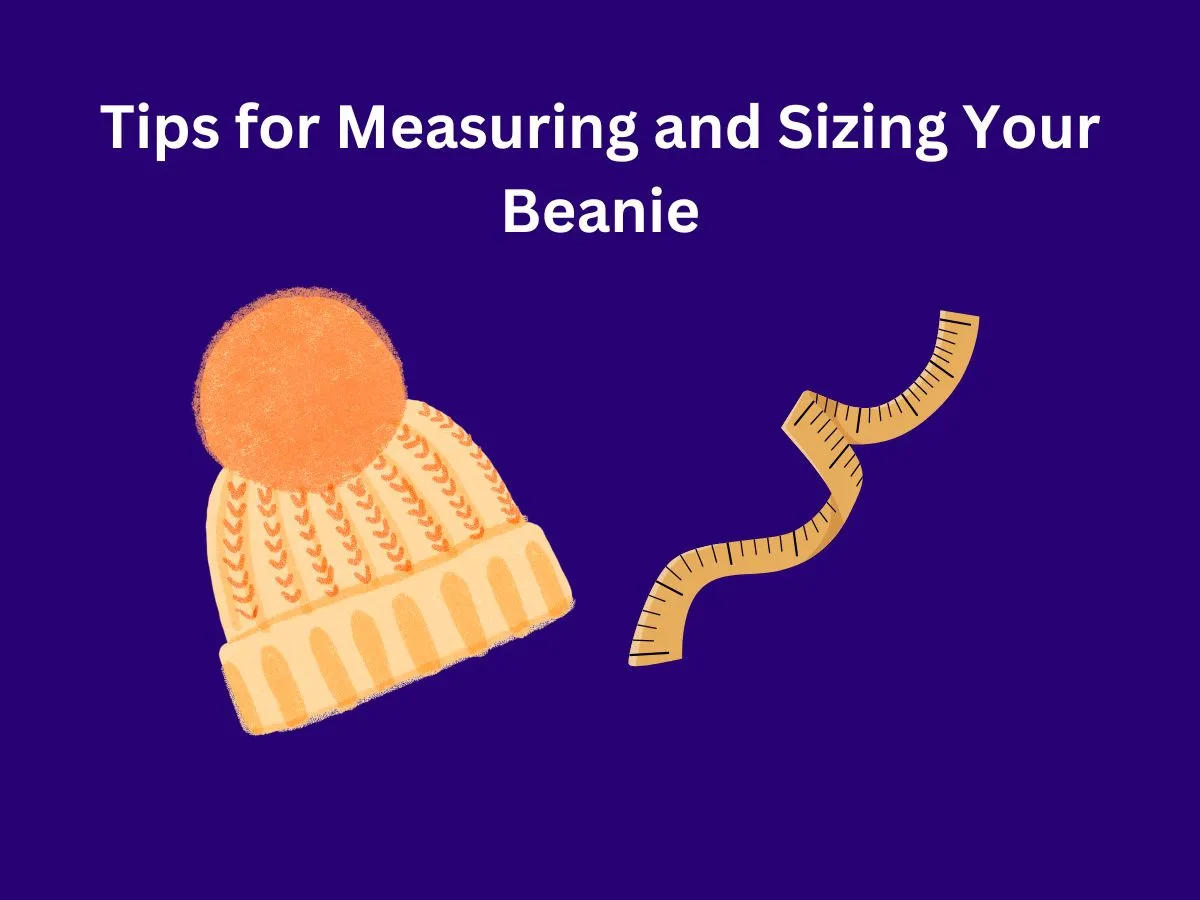
Getting the right size for your beanie starts with accurate measurements. Begin by measuring the head circumference of the person who will wear the beanie. Wrap a tape measure around their head, just above the ears and across the forehead. Make sure it’s snug but not too tight. Use this measurement to determine the hat’s target circumference, which is typically 1-2 inches smaller than the head circumference to allow for a snug fit.
Next, measure the crown diameter, which is how wide the top of the beanie should be. To find this, divide the target circumference by 3.14 (π). For instance, if the target circumference is 20 inches, your crown diameter should be about 6.4 inches. Stop increasing your stitches once you reach this width. Finally, measure the hat height by folding it in half and checking from the crown to the brim. Standard adult beanies are usually 8-10 inches tall, but you can adjust based on personal preference.
Always double-check your measurements as you work to ensure accuracy. If you’re unsure about sizing, refer to a crochet hat size chart for guidance. Keep in mind that different yarns and stitches may stretch differently, so testing as you go will help achieve a perfect fit.
Common Mistakes to Avoid When Crocheting a Beanie
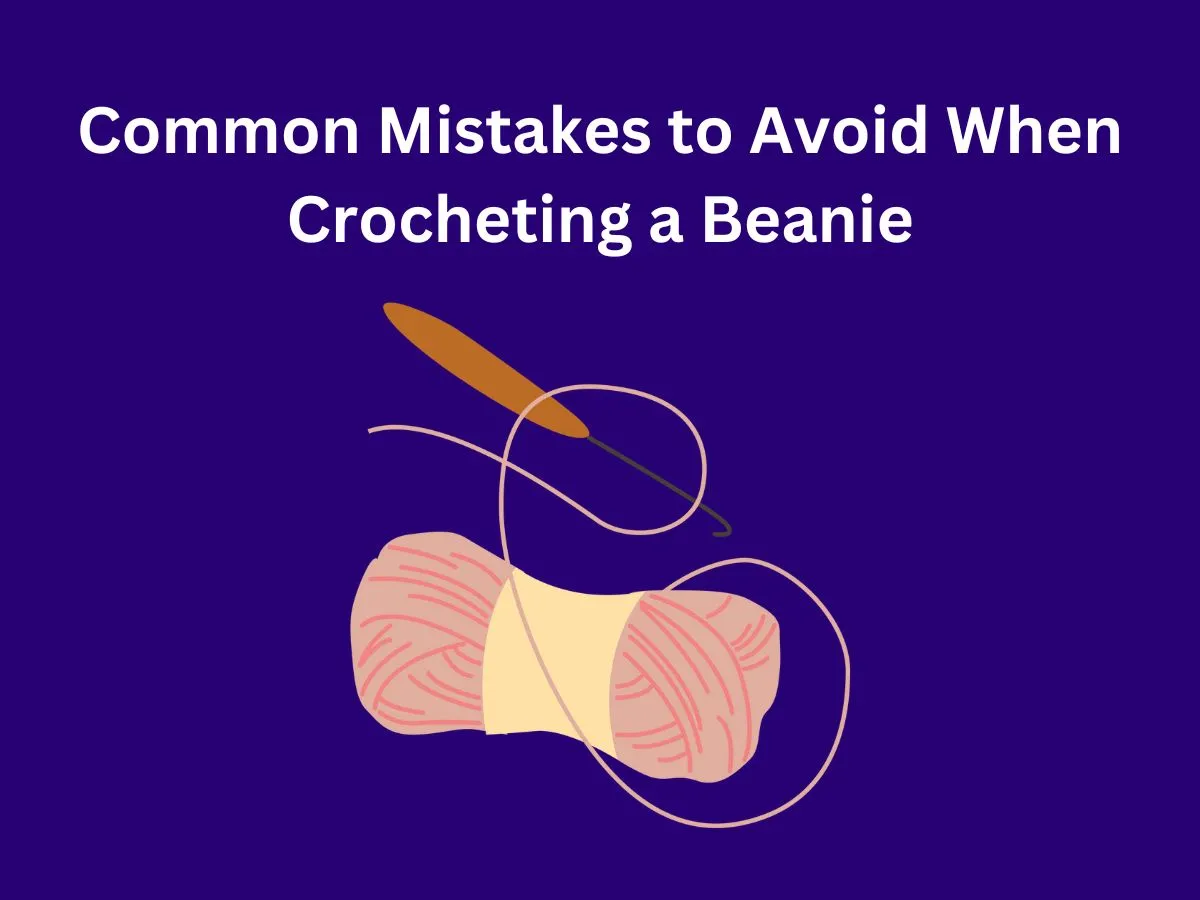
One common mistake when crocheting a beanie is not counting your stitches at the end of each round. Missing or adding stitches can cause your beanie to become uneven or misshapen. To avoid this, use stitch markers to mark the first stitch of each round and count your stitches carefully as you go.
Another frequent issue is using the wrong hook size or ignoring gauge swatches. Using a hook that’s too large can make your stitches loose and floppy, while a small hook can make them too tight. Always check your pattern for the recommended hook size and create a gauge swatch before starting to ensure proper tension.
Lastly, be mindful of tension throughout your project. Inconsistent tension can cause parts of your beanie to look uneven or fit poorly. If you notice your rows getting tighter or looser as you work, take a break and adjust your grip or hook size if needed. Paying attention to these details will help you create a well-shaped and professional-looking beanie.
Finishing Touches: Adding a Pom Pom or Border to Your Beanie
Adding finishing touches like a pom pom or border can elevate your beanie’s look. For a pom pom, you can use faux fur or yarn depending on your style preference. If you’d like to create your own pom poms, consider using a pom-pom maker for uniform and fluffy results. To attach it, thread a yarn needle with sturdy yarn and sew through both the pom pom and the top of the beanie several times for security. Tie a firm knot on the inside of the hat and weave in any loose ends.
If you want to add a border, start with a round of single crochet along the brim of your beanie. This creates a clean edge and gives structure to your design. For extra flair, try adding decorative stitches like crab stitch (reverse single crochet) or shell stitch for a textured finish. You can also use contrasting yarn colors for an eye-catching effect.
Don’t forget other small details that make your beanie unique! Consider attaching tags made of leather or fabric for a polished look, or even experiment with embroidery on the brim for personalization. These finishing touches turn a simple project into something truly special.
Final Thoughts
Now that you’ve learned these techniques, crocheting a beanie is within your reach! Consider utilizing the strategies to create personalized beanies. Remember, each stitch brings you closer to a handmade accessory that is both practical and stylish.
Please do not hesitate to be creative with yarn colors, pom poms, and borders to make your beanies uniquely yours. For additional support or questions, feel free to contact me at info@madeehamedia.com. Happy crocheting, and enjoy crafting your own cozy beanies!
Frequently Asked Questions
Q1: What’s the best yarn for a warm winter beanie?
A: Bulky or super bulky wool or acrylic yarn is ideal.
Q2: What size crochet hook should I use?
A: Check your yarn label, but an 8mm (US L-11) or 9mm hook works well for bulky yarn.
Q3: How do I start a beanie using a magic circle?
A: Wrap yarn around your fingers, create a loop, and crochet stitches into it before tightening.
Q4: How do I measure the crown diameter for my beanie?
A: Divide the target circumference (head size) by 3.14 (π).
Q5: What are some simple crochet stitches for beanies?
A: Single crochet, half double crochet, and double crochet are great for beginners.
Q6: How do I add a pom pom to my beanie?
A: Use a yarn needle to sew the pom pom securely to the top of the beanie.
Q7: How do I prevent my beanie from getting too tight or too loose?
A: Create a gauge swatch and adjust your hook size if needed.
Q8: How do I prevent my beanie from stretching out?
A: Use a tighter tension, choose yarns with good elasticity, and block your finished piece.
Q9: How can I customize my beanie?
A: Experiment with different stitch patterns, colors, and embellishments like tags or embroidery.
Q10: What are common mistakes to avoid when crocheting a beanie?
A: Not counting stitches, using the wrong hook size, and ignoring gauge swatches are common pitfalls.