Is your sofa missing that cozy, inviting touch? Do chilly evenings leave you wishing for a warm, stylish throw blanket to snuggle under? Many people struggle to find the perfect blanket that combines comfort, durability, and a personal touch.
Imagine sitting on your couch with a store-bought throw that doesn’t quite match your decor or feels less cozy than you hoped. The frustration of spending money on something that doesn’t meet your expectations can leave you feeling disappointed. You might even feel like your living space lacks personality and warmth.
But there’s a solution that’s both practical and rewarding: you can crochet a blanket for your sofa all on your own! This guide will show you how to create a cozy, handmade blanket that’s perfect for your sofa. From choosing the right yarn to mastering simple stitches, you’ll learn everything you need to know to make a beautiful, functional piece. By the end of this project, you’ll have a throw blanket that’s not only warm and stylish but also uniquely yours. Let’s get started!
Table of Contents
Why Crochet a Blanket: Benefits and Fun

Crocheting a throw blanket is a rewarding project that offers many benefits. First, it’s a great way to create something cozy and personal for your home. Crochet blankets are known for their warmth and durability, making them perfect for snuggling up on chilly evenings1. They often have a thicker, more structured feel compared to knitted blankets, which adds to their comfort and longevity.
Crocheting has also been shown to have therapeutic benefits. It can help reduce stress and anxiety, making it a relaxing hobby. As you work on your blanket, you’ll find the repetitive motions soothing and meditative. Plus, there’s a great sense of accomplishment when you finish your project and can enjoy the fruits of your labor.
Another fun aspect of crocheting a throw blanket is the ability to customize it to your liking. You can choose colors that match your decor, experiment with different stitch patterns, and even add personal touches like appliques or tassels1. This level of customization means you’ll end up with a unique piece that reflects your style and creativity. To start your cozy blanket project, make sure you have all the Essential Crochet Tools Every Beginner Needs!
Choosing the Perfect Yarn for Your Throw Blanket
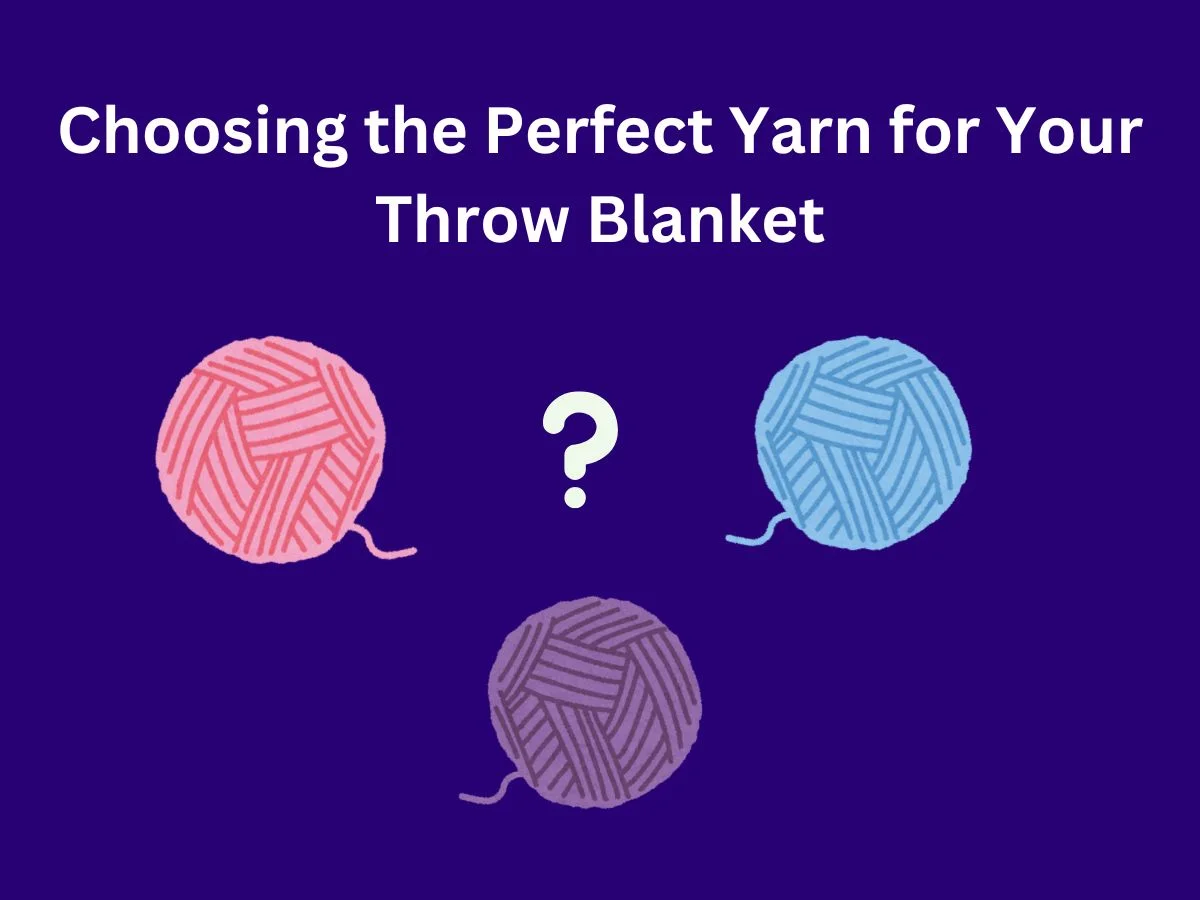
Selecting the right yarn is crucial for creating a comfortable and long-lasting throw blanket. Be sure to read our guide on Understanding Crochet Gauge: The Key to Perfect Sizing to ensure your yarn choice will give you the right results.For beginners, a Category 3 double knit (DK) or Category 4 worsted weight yarn is often recommended. These weights are versatile and easy to work with, making them ideal for those new to crochet.
When it comes to fiber content, acrylic yarn is a popular choice for blankets. It’s durable, easy to care for, and comes in a wide range of colors. Brands like Paintbox Yarns Simply DK and Brava Worsted are great options for their affordability and color selection. If you’re looking for something softer, consider a wool blend or a premium acrylic like Stylecraft Special DK.
For those interested in natural fibers, cotton yarn can be a good choice, especially for warmer climates. It creates a cooler, more breathable blanket. Bamboo yarn is another eco-friendly option that offers softness and sustainability. Remember, the yarn you choose will affect the blanket’s texture, warmth, and overall feel, so consider these factors when making your selection.
Essential Tools You’ll Need to Get Started
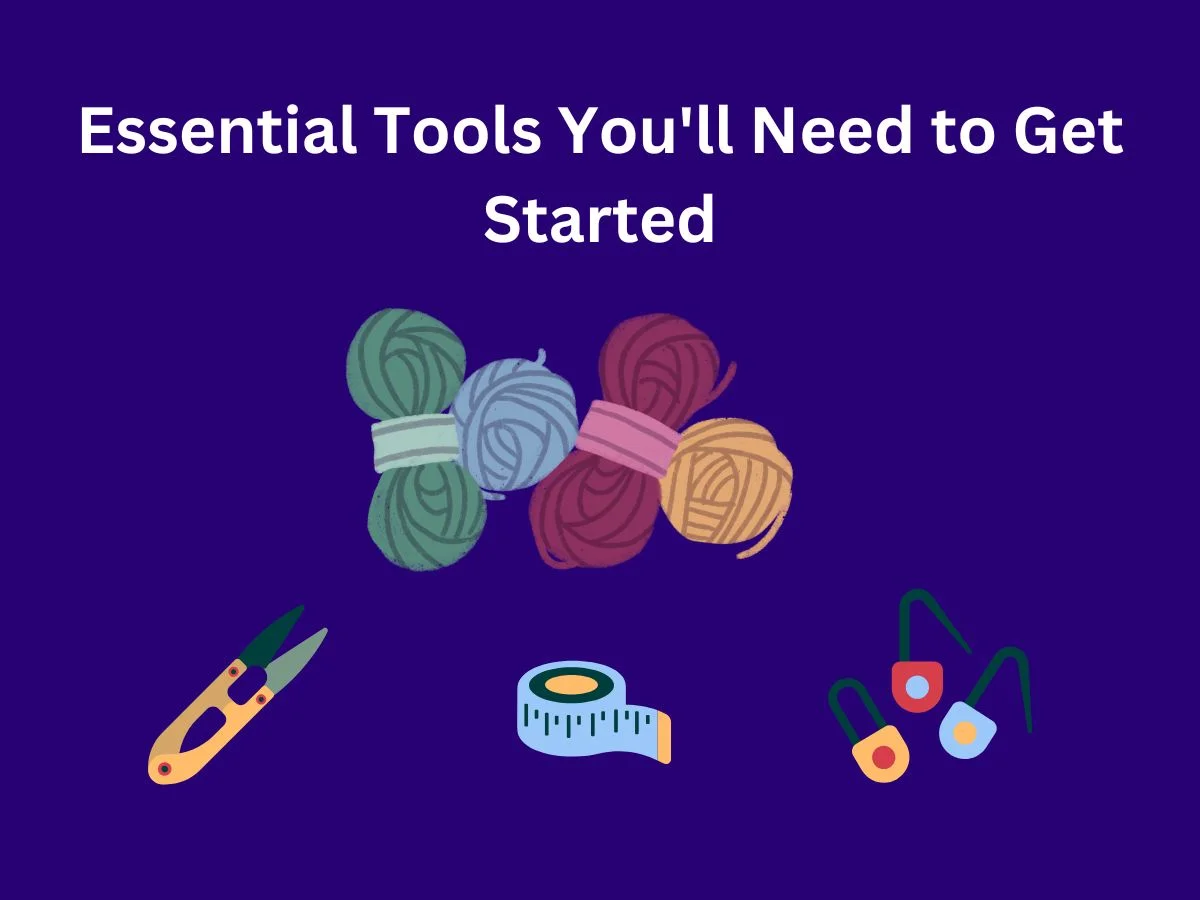
To begin crocheting your throw blanket, you’ll need a few key tools. First and foremost, you’ll need a crochet hook. The size of your hook will depend on the yarn you’ve chosen, but for beginners working with worsted weight yarn, a size J (6mm) hook is often a good starting point.
Stitch markers are another helpful tool, especially when working on larger projects like blankets. They help you keep track of your rows and pattern repeats. You’ll also need a pair of scissors for cutting yarn. Choose a pair that’s comfortable to hold and sharp enough to cleanly cut through your chosen yarn.
A tape measure is essential for checking your blanket’s size as you work. This helps ensure your project turns out the right dimensions6. Lastly, don’t forget a yarn needle for weaving in ends when you finish your blanket. With these basic tools, you’ll be well-equipped to start your crochet journey and create a beautiful throw blanket for your home.
Simple Crochet Stitches for Beginners
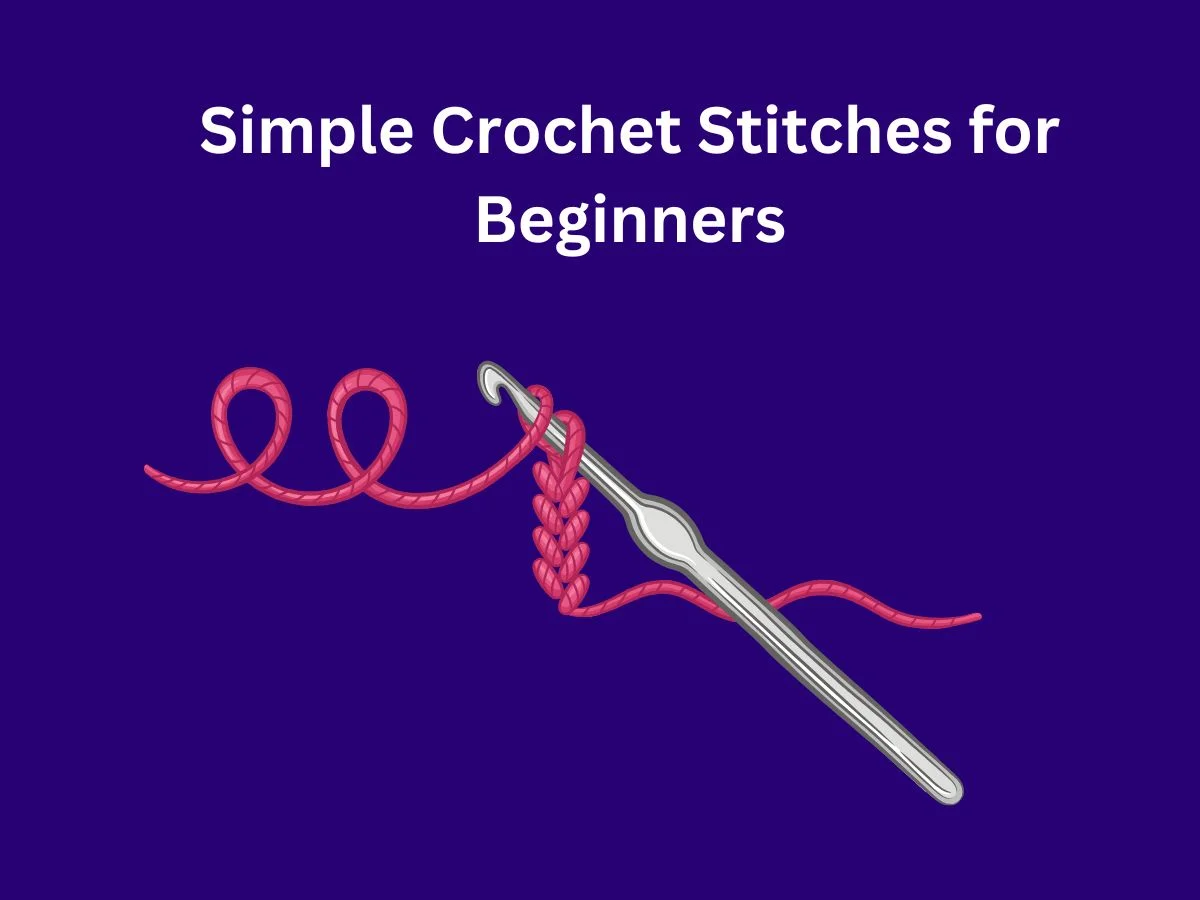
Learning a few basic crochet stitches is the perfect way to start your throw blanket project. The chain stitch (ch) is the foundation of most crochet patterns. It’s simple to learn and creates the base row for your blanket. To make a chain stitch, create a slip knot, loop the yarn over your hook, and pull through to form a chain. Repeat until you have the desired length for your blanket.
The single crochet (sc) stitch is another essential technique for beginners. It’s easy to master and creates a dense, sturdy texture. To make a single crochet, insert your hook into the next stitch, yarn over, and pull through. Then yarn over again and pull through both loops on your hook. This stitch is great for creating even rows and is perfect for simple, cozy blankets.
For a bit more texture, try the double crochet (dc) stitch. It’s slightly taller than the single crochet and works up faster, making it ideal for larger projects like throw blankets. Start by yarning over, inserting your hook into the stitch, yarning over again, and pulling through. Then yarn over once more and pull through two loops at a time until only one loop remains on your hook. These three stitches—chain, single crochet, and double crochet—are all you need to create a beautiful beginner-friendly blanket.
Understanding Patterns: A Beginner’s Guide
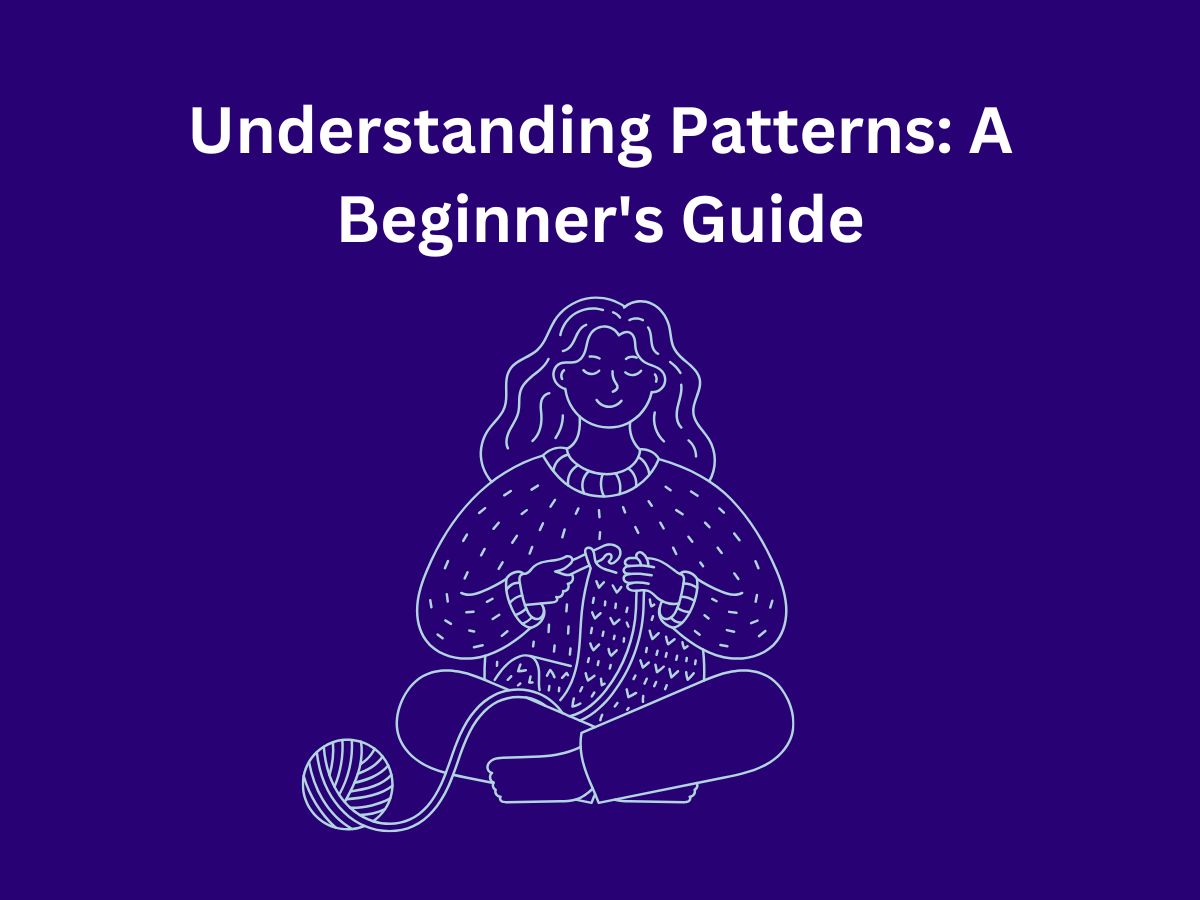
Reading crochet patterns can feel overwhelming at first, but it’s easier than it looks once you understand the basics. Most patterns start with a list of abbreviations, such as “ch” for chain or “sc” for single crochet. Familiarizing yourself with these terms will help you follow instructions more easily. Patterns also include materials needed, like yarn type and hook size, so you can gather everything before starting.
Patterns are often categorized by skill level—beginner, intermediate, or advanced. If you’re new to crocheting, choose a beginner-friendly pattern with simple stitches and clear instructions. Look for patterns that include diagrams or video tutorials if you’re more of a visual learner.
The key to understanding patterns is to take it step by step. For example, if the pattern says “ch 20, sc in 2nd ch from hook,” this means you should make 20 chain stitches first and then start single crocheting into the second chain from your hook. Don’t rush—read each line carefully and refer back to the abbreviations or guides as needed. With practice, reading patterns will become second nature.
Tips for Measuring and Sizing Your Blanket
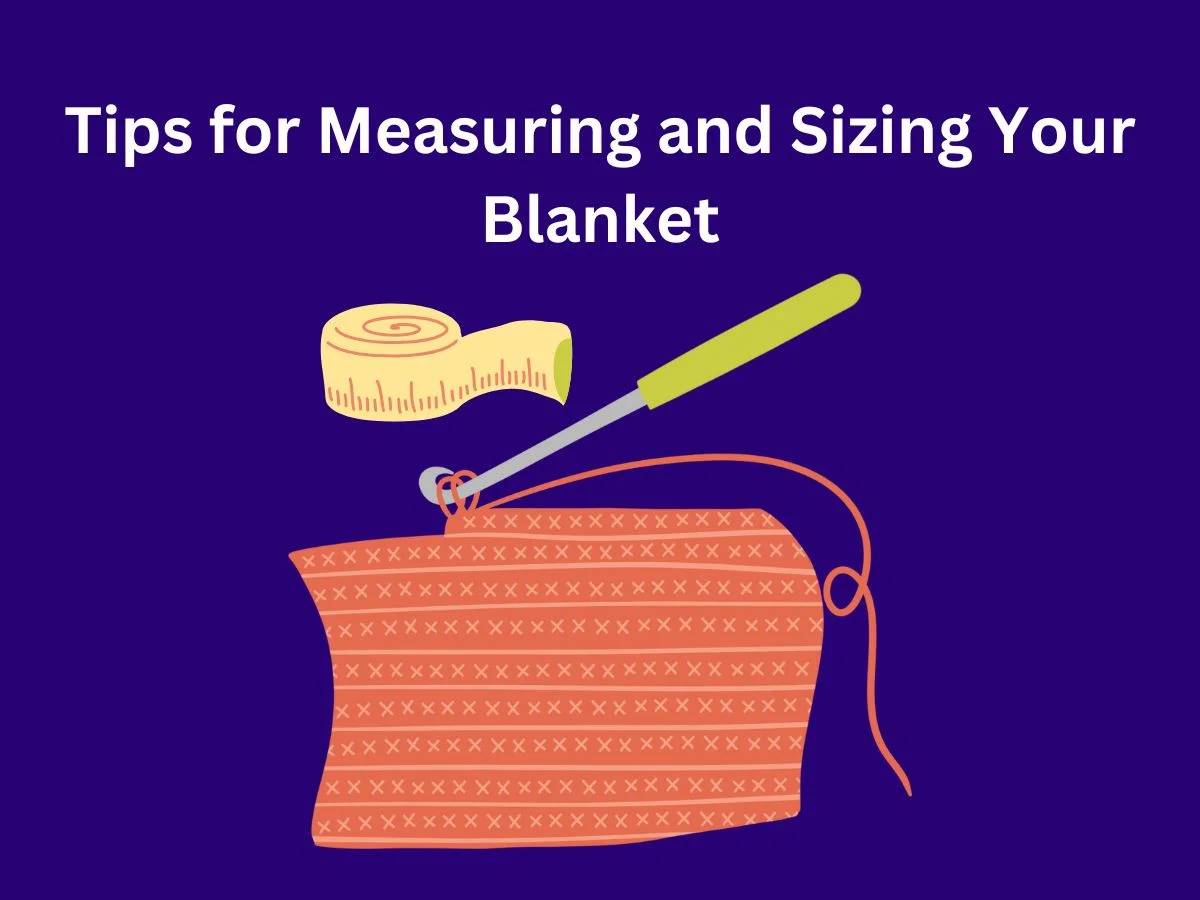
Getting the right size for your throw blanket starts with proper measurements and planning. Begin by deciding how large you want your blanket to be. Standard throw blankets are typically 52 inches wide by 60 inches long, but you can adjust these dimensions based on your preference or sofa size.
Gauge is an important factor in sizing your blanket correctly. A gauge swatch helps you determine how many stitches and rows fit into a specific area (usually 4×4 inches). To create one, use the same yarn and hook as your project and follow the pattern’s recommended stitch. Measure your swatch carefully—if it’s too small or large compared to the pattern’s gauge, adjust your hook size accordingly.
When working on your blanket, measure as you go to ensure you’re staying on track with the desired dimensions. Keep in mind that some stitch patterns, like chevrons or waves, may require extra adjustments due to their shape. If you plan to add a border around your blanket, account for this in your overall measurements so everything fits perfectly when finished.
How to Add Color and Texture to Your Blanket
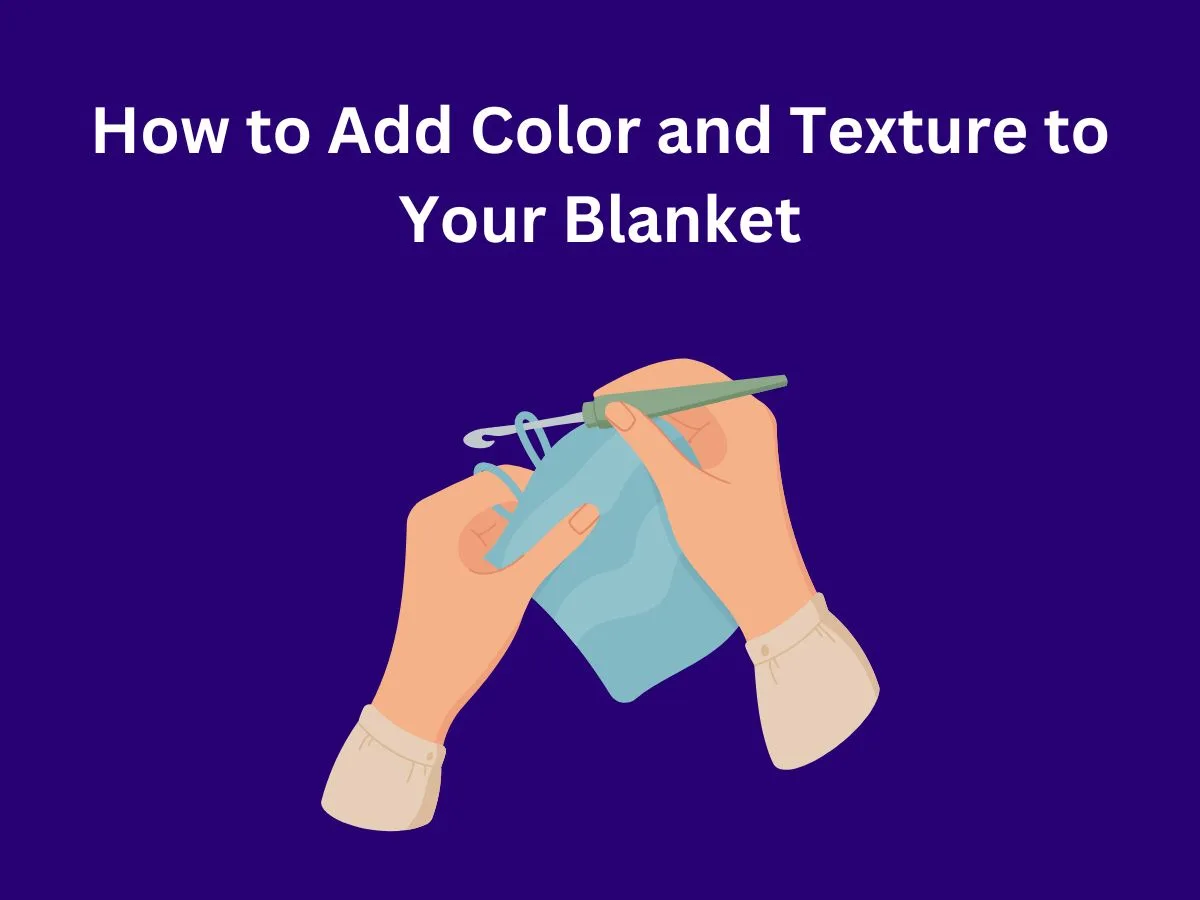
Adding color and texture to your crochet blanket can make it more interesting and unique. One way to do this is by using different stitches. The alpine stitch and basket weave stitch are great options that add texture to your blanket. You can alternate between these stitches to create sections with different looks and feels.
Color changes are another way to make your blanket stand out. When choosing colors, think about color theory. Colors opposite each other on the color wheel create contrast, while colors next to each other blend well. You can create stripes by changing colors every few rows, or try a more complex pattern like the Two Color Blanket from Daisy Cottage Designs.
Don’t be afraid to experiment with different yarn types too. Each type of yarn has its own unique properties that can affect the look and feel of your blanket. For example, a fuzzy yarn might create a softer texture, while a smooth yarn might show off your stitches more clearly. Remember, the goal is to create a blanket that you love and that fits your style.
How to Add Color and Texture to Your Blanket
One common mistake when crocheting a blanket is not counting your stitches. This can lead to uneven edges or a blanket that’s not the right shape. To avoid this, count your stitches at the end of each row. If you’re off by one or two, it’s easier to fix right away than later on.
Another mistake is using the wrong type of yarn for your project. Different yarns have different properties, and using the wrong one can affect how your blanket looks and feels. Always check the pattern to see what type of yarn is recommended. If you want to use a different yarn, make sure it’s similar in weight and texture to the one in the pattern.
Misreading the pattern is also a common issue. This can cause your blanket to turn out differently than expected. Take your time to read through the whole pattern before you start. If there are parts you don’t understand, look them up or ask for help. It’s better to take a little extra time at the beginning than to have to redo your work later.
Bringing It All Together: Finishing Touches for Your Cozy Throw Blanket
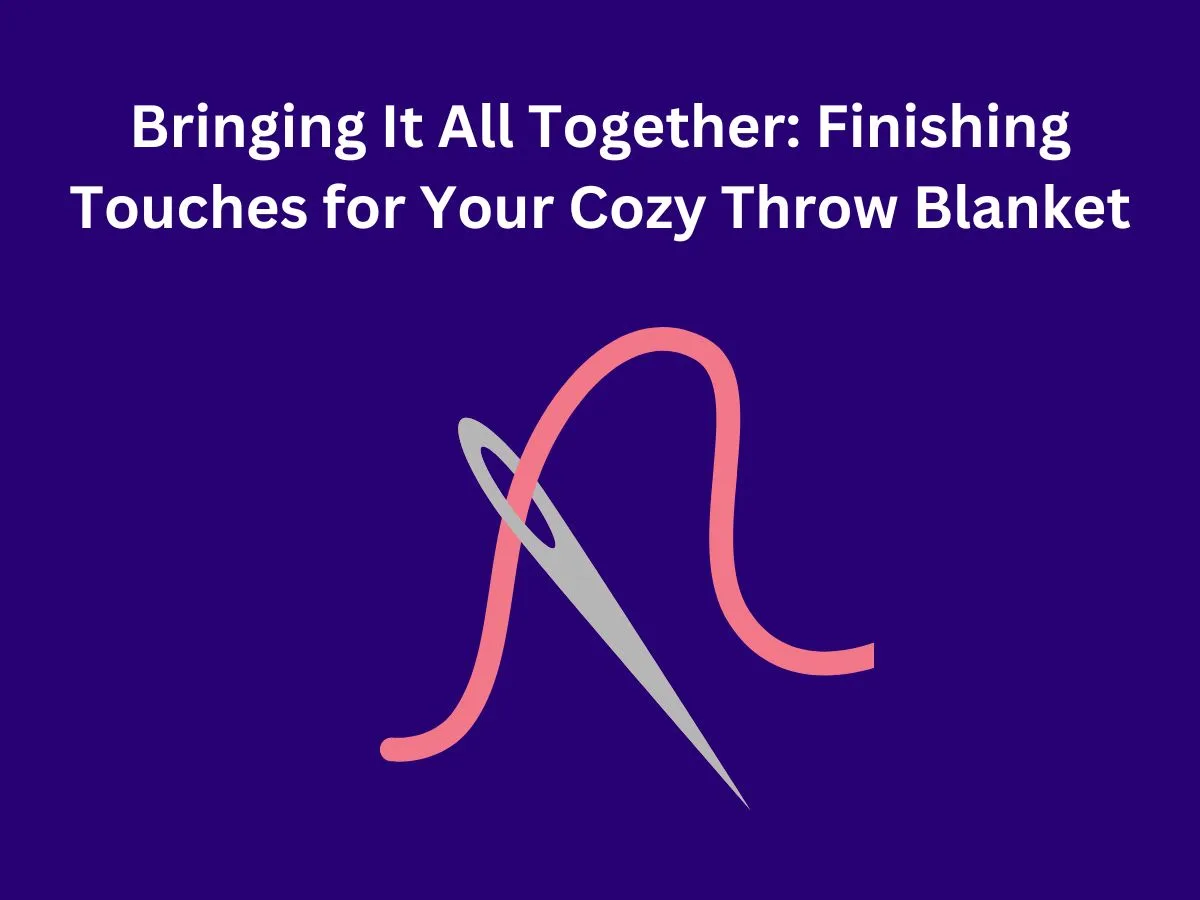
Once you’ve finished crocheting your blanket, it’s time for the finishing touches. First, weave in all the loose ends with a tapestry needle. This will give your blanket a neater look and prevent any yarn from coming loose later. Take your time with this step to make sure all ends are secure.
Adding a border is a great way to give your blanket a polished look. A simple border of single crochet stitches works well for most blankets. Work evenly around the edges, making sure to add extra stitches in the corners to keep them flat. You can do multiple rounds of border in the same or different colors to create a unique edge.
Finally, consider blocking your blanket. This involves wetting or steaming your blanket and then pinning it out to dry in the correct shape. Blocking can help even out your stitches and give your blanket a more professional look. Once your blanket is dry, it’s ready to use! Enjoy snuggling up with your handmade creation.
Final Thoughts
With these guidelines, a cozy, personalized throw blanket is within your reach! Begin using these strategies to create a warm and inviting blanket for your sofa. See that each step you take brings you closer to a cherished handmade item.
Please don’t be afraid to try out new colors, textures, or border styles to match your own sense of style. If you need extra support or have any further inquiries, please do contact me at info@madeehamedia.com. Enjoy the process of creation and the cozy comfort of your new throw!
Frequently Asked Questions
Q1: What’s the best size for a throw blanket?
A: A standard size is about 52×60 inches, but you can adjust based on your needs.
Q2: How much yarn will I need for a throw blanket?
A: Follow the yarn label’s recommendation, typically around a J (6mm) hook for worsted weight yarn.
Q3: What crochet hook size should I use?
A: Follow the yarn label’s recommendation, typically around a J (6mm) hook for worsted weight yarn.
Q4: How do I prevent my blanket from curling?
A: Use a looser tension or try a different stitch pattern that lies flatter.
Q5: What are some easy stitch patterns for a beginner?
A: Single crochet, double crochet, and granny squares are all great options.
Q6: How do I change colors in my crochet blanket?
A: Join the new yarn at the end of a row and weave in the ends securely.
Q7: How do I add a border to my blanket?
A: Crochet around the edges using a simple stitch like single crochet or a more decorative border pattern.
Q8: What is blocking and why should I do it?
A: Blocking involves wetting and shaping your blanket to even out stitches and give it a more finished look.
Q9: How do I wash my crochet blanket?
A: Check the yarn label, but most can be machine washed on a gentle cycle and laid flat to dry.
Q10: Where can I find free crochet blanket patterns?
A: Websites like Ravelry, Yarnspirations, and many crochet blogs offer free patterns.