Are you feeling overwhelmed by crochet patterns that seem too complicated to follow? Do the abbreviations, symbols, and intricate instructions leave you confused and frustrated? Many crocheters face this challenge when attempting advanced projects, leading to unfinished pieces and lost confidence.
Imagine starting a beautiful project only to abandon it halfway because the pattern feels impossible to decipher. The frustration of wasted time, effort, and yarn can make you hesitant to try more complex designs in the future. It’s disheartening to see others create stunning pieces while you feel stuck at the same skill level.
But don’t worry—there’s a solution! Learning how to read and follow complex crochet patterns is easier than you think with the right guidance. This blog will break down everything you need to know, from understanding abbreviations to tackling advanced techniques. By the end, you’ll have the skills and confidence to take on even the most intricate patterns with ease. Let’s unlock your crochet potential together!
Table of Contents
Understanding Crochet Pattern Structure

Crochet patterns have a specific structure that helps you create your project step by step. Most patterns start with a list of materials you’ll need, including the type and amount of yarn, hook size, and any extra tools. Next, you’ll find the gauge information, which tells you how many stitches and rows should fit in a certain space. This helps ensure your project turns out the right size.
The main part of the pattern is divided into sections or rows. Each section will tell you what stitches to make and how many times to repeat them. Some patterns use written instructions, while others use charts or a combination of both. Pay attention to any special notes or tips the designer includes, as these can be very helpful.
At the end of the pattern, you’ll often find finishing instructions. These might include how to weave in loose ends, add decorative elements, or block your project to give it the right shape. Remember to read through the entire pattern before you start crocheting. This will help you understand the overall structure and avoid surprises later on.
Decoding Common Crochet Abbreviations
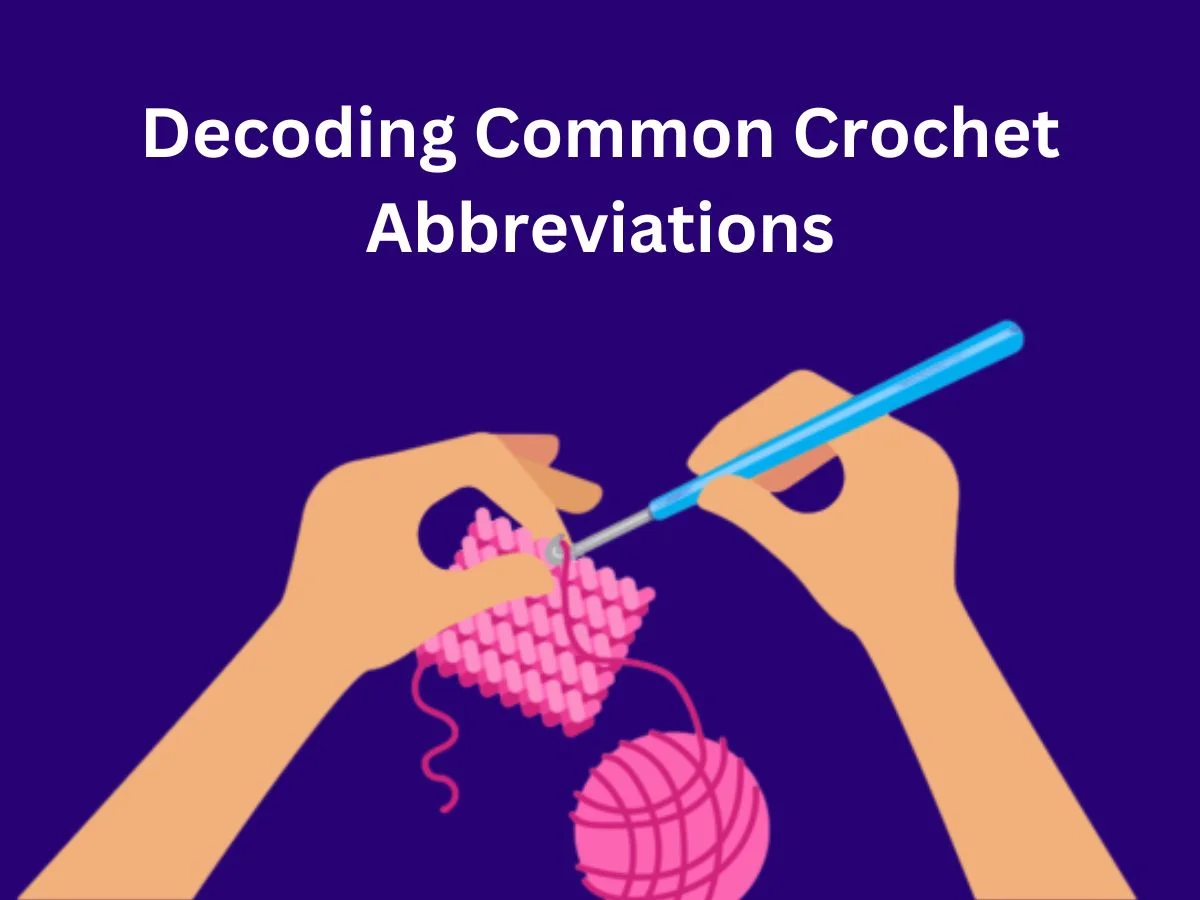
Crochet patterns often use abbreviations to save space and make instructions easier to follow. Learning these shortcuts can help you read patterns more quickly and confidently. Some of the most common abbreviations include “ch” for chain, “sc” for single crochet, “dc” for double crochet, and “hdc” for half double crochet.
Other useful abbreviations to know are “st” or “sts” for stitch or stitches, “rep” for repeat, and “inc” for increase. You’ll also see “dec” for decrease, “sl st” for slip stitch, and “rnd” for round. When a pattern says “tog,” it means to work stitches together, and “yo” stands for yarn over.
Don’t worry if you can’t remember all the abbreviations at first. Many patterns include a key or legend that explains the abbreviations used. You can also find comprehensive lists of crochet abbreviations online or in crochet books. Keep a reference handy while you work, and soon you’ll find these shortcuts become second nature.
Mastering Stitch Symbols and Charts
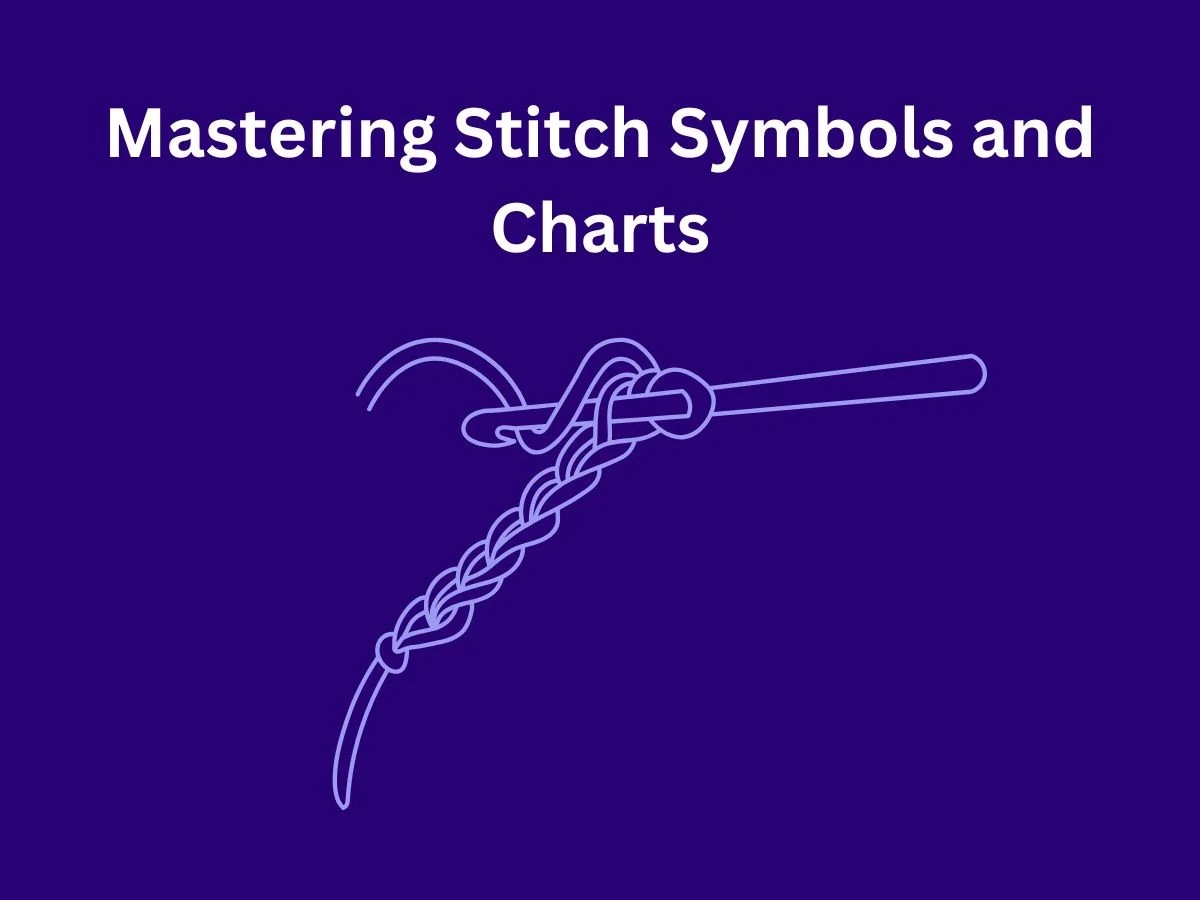
Stitch symbols and charts are visual ways to represent crochet patterns. They can be especially helpful for visual learners or when working on complex designs. Each type of stitch has its own symbol. For example, a single crochet is often shown as a plus sign, while a double crochet looks like a T shape with one cross line.
To read a chart, start at the bottom right corner for right-handed crocheters (or bottom left for left-handed). Each row is usually numbered, and you work your way up the chart. Right side rows are often shown in black, while wrong side rows are in blue. Look for repeated sections, which are usually highlighted or outlined in a different color.
Don’t be intimidated by charts – they can actually make complex patterns easier to understand. They show you exactly where each stitch goes and how the pattern repeats. Most charts come with a key that explains what each symbol means. With practice, you’ll find that charts can help you visualize your project and catch mistakes more easily.
To make chart reading easier, check out our post on Mastering The Art of Crochet to dive deeper into advanced pattern reading.
Navigating Pattern Repeats and Brackets
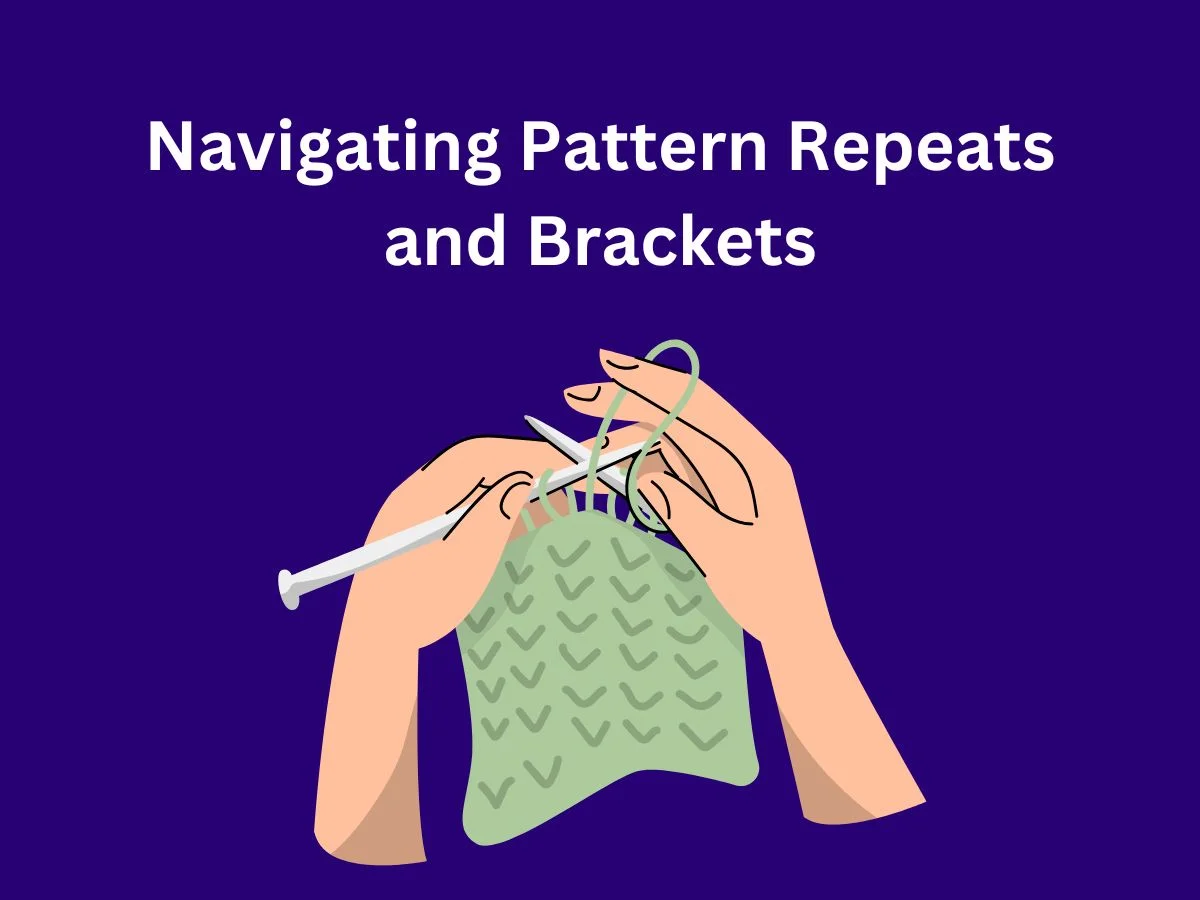
Pattern repeats and brackets are shortcuts that help make crochet patterns easier to read. Brackets [] are used to show a group of stitches that need to be repeated. For example, [dc in next 2 sts, sc in next 3 sts] 4 times means you’ll do what’s in the brackets four times in a row. This saves space and makes the pattern clearer.
Asterisks * are another way to show repeats. When you see an asterisk, you’ll repeat everything after it until the end of the row or until the pattern says to stop. For instance, *ch 1, skip next st, dc in next st; rep from * across means you’ll keep doing those steps until you reach the end of the row.
Parentheses () are often used with brackets to show more complex repeats. For example, (3 dc twice) 4 times means you’ll do 3 double crochet, chain 1, 3 double crochet, and then repeat that whole thing four times. It might seem tricky at first, but if you take it slow and follow each step, you’ll get the hang of it. Remember, these shortcuts are there to help you, not confuse you!
Interpreting Advanced Stitch Techniques
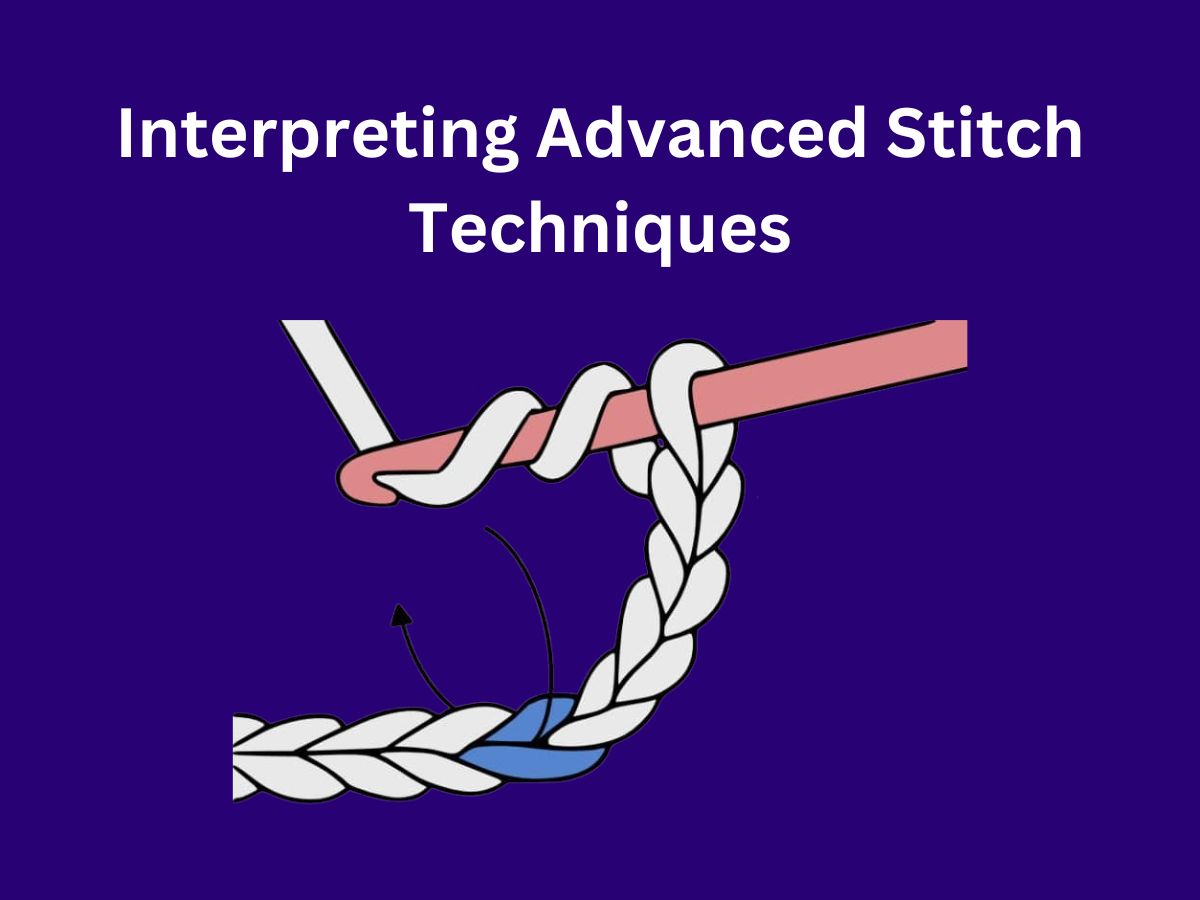
As you grow in your crochet skills, you’ll come across more advanced stitches that add texture and interest to your projects. Some popular advanced stitches include the loop stitch, which creates a fuzzy texture, and the linked double crochet, which makes a solid fabric. The bullion stitch is another fun one that creates a coiled look.
Other advanced techniques you might see are slip-stitch embroidery for adding details, and the crocodile stitch for a scale-like effect. These stitches might seem hard at first, but with practice, they become easier. Don’t be afraid to look up video tutorials if you’re stuck – seeing the stitch in action can really help.
When trying a new stitch, it’s a good idea to practice on a small swatch before starting your main project. This lets you get comfortable with the technique without the pressure of a big project. Remember, every expert crocheter was once a beginner too. With patience and practice, you’ll be mastering these advanced stitches in no time!
Working with Multiple Colors and Yarn Changes
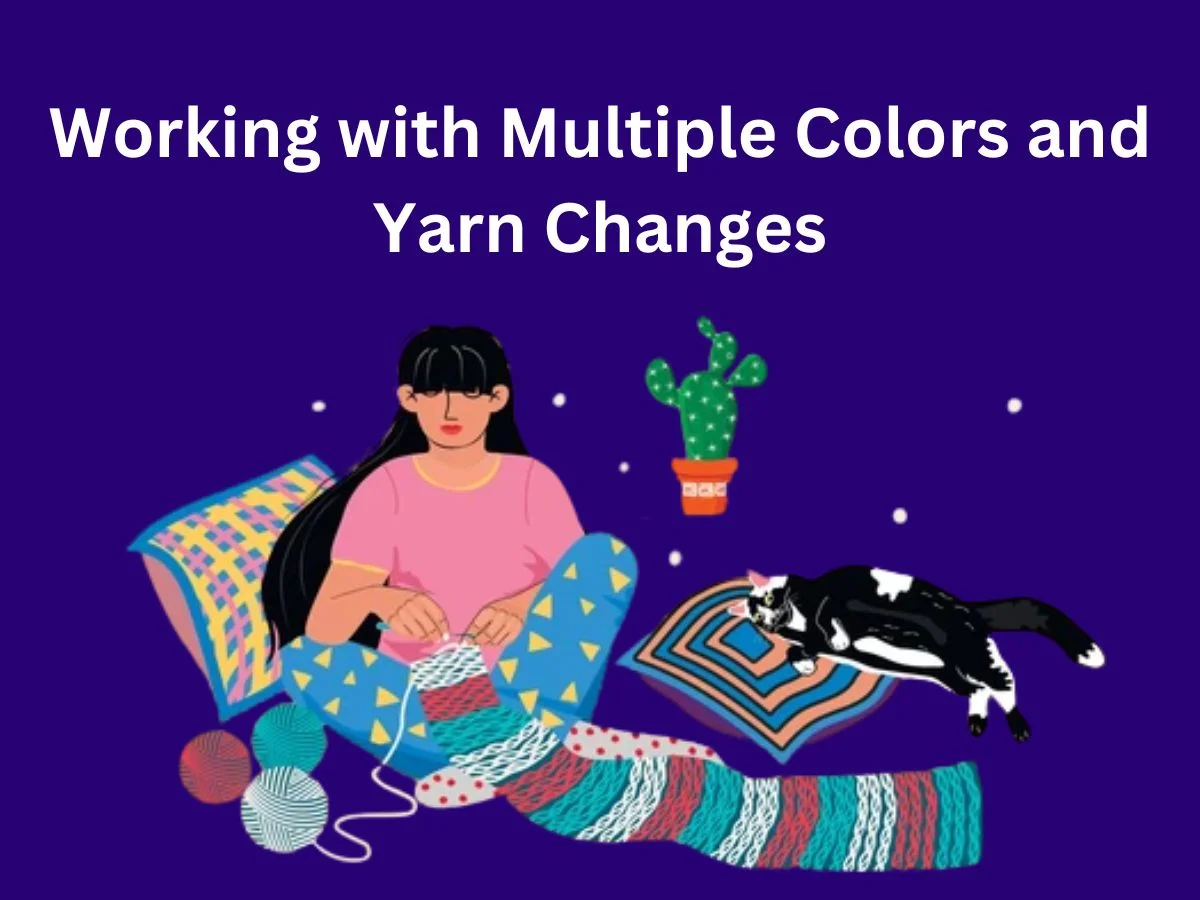
Adding different colors to your crochet project can make it really stand out. There are a few ways to work with multiple colors. One common method is to change colors at the end of a row. To do this, you finish the last stitch of the row with the new color. This creates a clean color change.
Another technique is called tapestry crochet, where you carry the unused color along the back of your work. This is great for making patterns and pictures in your crochet. When you’re not using a color, you just crochet over it, hiding it inside your stitches. It takes some practice, but it’s a fun way to add designs to your work.
When changing colors, it’s important to keep your tension even. Loose color changes can leave gaps, while too-tight changes can make your work pucker. Practice on a small piece first to get the hang of it. Also, remember to leave long enough tails when you cut your yarn – about 6 inches is usually good. This makes it easier to weave in the ends later and keeps your work secure.
Whenever you’re ready to explore color changes in larger projects, make sure to check out our guide to How to Crochet a Cozy Throw Blanket!
Troubleshooting Pattern Challenges
When you’re stuck on a crochet pattern, don’t panic! Often, the problem isn’t where you think it is. Try going back a few steps and redoing the stitches slowly. Count each stitch carefully as you go. If there’s a video tutorial for your pattern, watch that section a few times. You might find you accidentally added an extra stitch in each row, causing your project to look lumpy1.
Common mistakes include crocheting in the wrong loop, using the wrong hook size, or misreading the pattern. If your stitches have big gaps, you might be using a hook that’s too large. For amigurumi, use a hook several sizes smaller than what the yarn label suggests. Always work into both loops of the stitch below unless the pattern says otherwise.
If you’re still stuck, don’t be afraid to ask for help. Join a crochet community online or ask a crafty friend to take a look. Fresh eyes can often spot the problem quickly. Remember, every crocheter makes mistakes. The key is to learn from them and keep practicing. With time, you’ll get better at spotting and fixing errors on your own.
Tips for Staying Organized While Crocheting
Keeping your crochet workspace organized can make your crafting time more enjoyable and productive. Start by setting up smart storage solutions for your yarn. Clear bins let you see what you have, while pegboards or wine racks can create attractive displays. For your tools, use mason jars or wall-mounted organizers to keep everything within reach.
Develop a daily clean-up routine to prevent clutter from taking over. Spend just 5 minutes at the end of each crochet session putting things back in their place. Only keep out the materials you’re actively using for your current project. This quick habit can save you from a big mess later.
Don’t forget to organize your patterns too. Store them in labeled binders or file boxes so you can find the design you want quickly. If you have digital patterns, create a clear folder system on your computer or tablet. Regularly declutter your supplies, donating items you no longer use. This keeps your space fresh and makes room for new inspirations.
Practicing with Increasingly Complex Patterns
As you grow more confident in your crochet skills, it’s time to tackle more challenging patterns. Start by mastering the basic stitches and techniques before moving on to more complex ones. Practice new stitches on small swatches before incorporating them into larger projects. This lets you get comfortable with the technique without the pressure of a big project.
When you’re ready to try a more complex pattern, read through it entirely before starting. This helps you understand the overall structure and any new techniques you’ll need to learn. Take it one step at a time, and don’t be afraid to use stitch markers to keep track of your place in the pattern. If you make a mistake, it’s okay to unravel your work and start again.
Remember that every expert crocheter was once a beginner. Be patient with yourself as you learn new skills. Try working on increasingly difficult projects, like moving from simple scarves to more intricate shawls or amigurumi toys. With each project, you’ll build your skills and confidence. Don’t forget to celebrate your progress along the way!
Final Thoughts
You’re now equipped to tackle even the most complex crochet patterns! Make sure that you put all these methods into practice. Soon you will be making crochet creations that you thought you couldn’t create.
Don’t forget to enjoy the learning process and be proud of every project you complete. If you still need additional help or have questions, feel free to contact me at info@madeehamedia.com. Happy crocheting, and may your crochet projects bring great joy to others!
Frequently Asked Questions
Q1: What is the first step in reading a crochet pattern?
A: Understand the pattern structure, starting with materials and gauge.
Q2: Why are abbreviations used in crochet patterns?
A: To save space and make instructions easier to follow.
Q3: What are stitch symbols and charts useful for?
A: Visualizing patterns and working on complex designs.
Q4: How do brackets and asterisks help with pattern repeats?
A: They show which stitches need to be repeated.
Q5: What should I do if I encounter an advanced stitch I don’t know?
A: Look up video tutorials and practice on a small swatch.
Q6: What’s the best way to change colors in crochet?
A: Finish the last stitch of the row with the new color.
Q7: What do I do if I get stuck on a pattern?
A: Go back a few steps, count your stitches, and watch a video if available.
Q8: How can I prevent my crochet stitches from having big gaps?
A: Use a smaller hook.
Q9: What’s the best way to organize my crochet materials?
A: Use clear bins, pegboards, mason jars, and labeled binders.
Q10: What should I do when tackling a new, complex pattern?
A: Read through the entire pattern before starting, take it one step at a time, and use stitch markers.