Are you frustrated with crochet projects that never seem to fit quite right? Have you spent hours creating a sweater only to find it’s too small or a blanket that’s way too big? Many crocheters face this common problem, leading to wasted time, yarn, and disappointment.
If you’re new to crochet, The Ultimate Guide to Starting Your Crochet Journey: From Novice to Confident Crafter can be a great first read to ensure you’ve got a solid foundation before tackling projects that require precise sizing.
Imagine the frustration of carefully following a pattern, only to end up with a hat that’s too tight or mittens that are comically large. It’s not just about looks – ill-fitting garments can be uncomfortable or even unwearable. This issue can make you feel like giving up on more complex projects altogether.
But there’s good news! The secret to perfectly sized crochet projects lies in understanding and mastering gauge. Gauge is simply a way to measure your stitches, ensuring they match the pattern’s requirements. By learning how to work with gauge, you can create projects that fit beautifully every time. This blog post will guide you through the ins and outs of crochet gauge, helping you avoid sizing mishaps and create pieces you’ll love to wear and use.
Table of Contents
What is Crochet Gauge?
Crochet gauge measures the size of your stitches and rows within a specific area, usually 4 inches by 4 inches. It helps determine how tightly or loosely you crochet. Each person’s tension is unique, so even if two people use the same yarn and hook, their finished projects may differ in size. Gauge ensures consistency across projects and helps match the designer’s intended size.
To calculate gauge, you create a small sample called a gauge swatch using the stitch pattern and hook size specified in your project. This swatch allows you to measure the number of stitches and rows within the required dimensions. For example, a pattern might state that 16 stitches and 20 rows equal 4 inches in single crochet. If your swatch doesn’t match, adjustments are needed.
Gauge is crucial for projects where sizing matters, like garments, hats, or socks. If your stitches are too tight or loose, the final item may not fit properly or use more yarn than expected. By understanding gauge, you can ensure your projects turn out just as planned.
Why Gauge Matters in Crochet
Gauge is essential because it directly affects the size and fit of your crochet projects. For example, if you’re making a sweater and your gauge is off, it could end up too small to wear or too large to be flattering. Matching the pattern’s gauge ensures that your finished piece fits as intended.
Gauge also impacts how much yarn you’ll need. If your stitches are tighter than the pattern’s gauge, you’ll use less yarn but risk running out if the project requires precise amounts. On the other hand, looser stitches may require more yarn than specified in the pattern. Checking your gauge helps avoid these issues.
While gauge is critical for garments and accessories, it’s less important for items like blankets or scarves where exact sizing isn’t as crucial. However, understanding when to prioritize gauge can save time and frustration on complex projects where fit and yarn usage matter most.
How to Measure Crochet Gauge
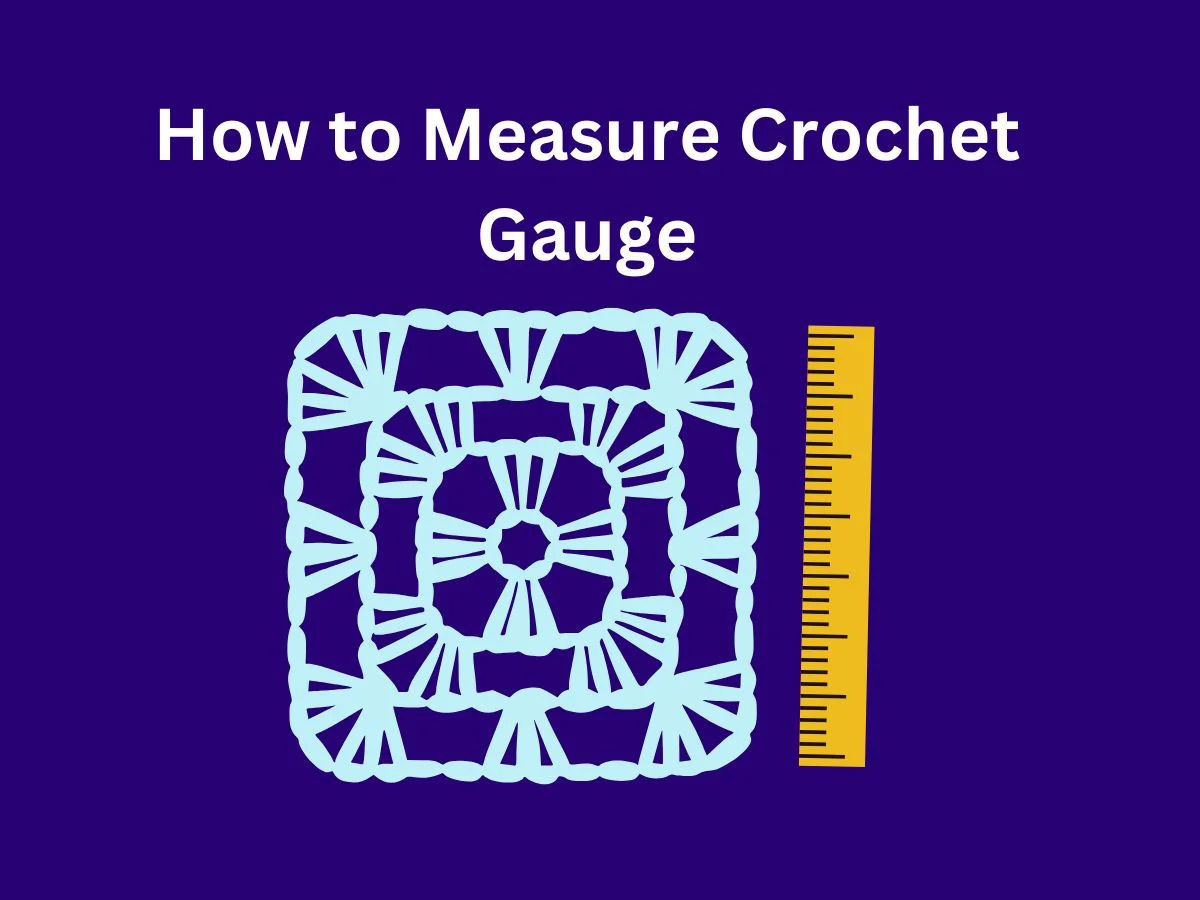
To measure crochet gauge, start by making a gauge swatch following the pattern’s instructions. Use the recommended hook size and stitch type to create a square slightly larger than 4 inches by 4 inches. This extra space ensures accurate measurements since edge stitches can be inconsistent.
Once your swatch is ready, use a ruler or tape measure to count the number of stitches across 4 inches horizontally. This gives you the stitch gauge. Next, measure vertically to count how many rows fit within 4 inches for the row gauge. Compare these numbers to the pattern’s requirements.
If your measurements don’t match, adjust accordingly. If you have too many stitches per inch, switch to a larger hook to loosen your tension. If you have too few stitches per inch, use a smaller hook to tighten it up. Recheck your gauge after adjustments to ensure accuracy before starting your project.
Common Tools for Measuring Gauge
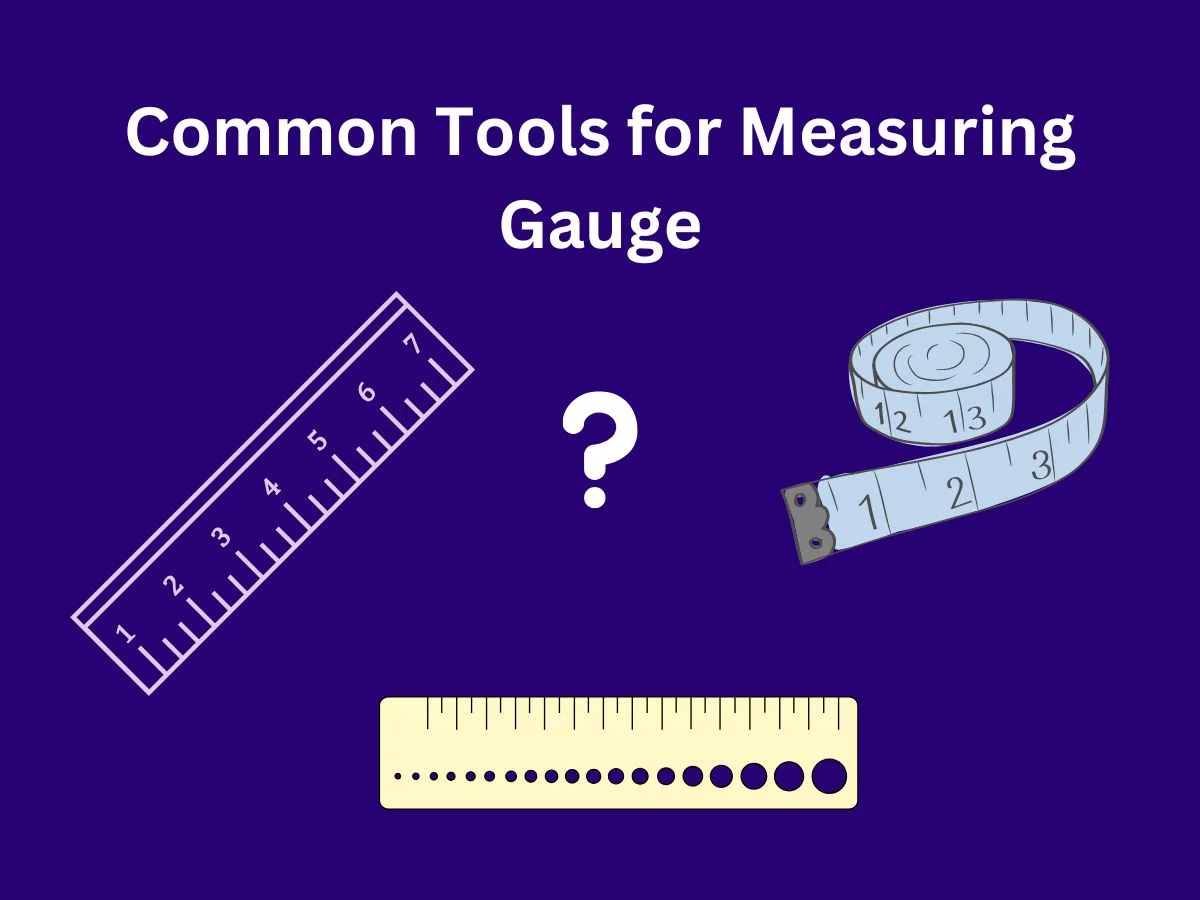
When it comes to measuring crochet gauge, having the right tools can make a big difference. The most basic and widely available option is a clear plastic ruler, which you can often find in the school supply section of your local store. This rigid tool is ideal for getting accurate measurements of your stitches and rows.
For those who want a more specialized tool, there are gauge measuring devices designed specifically for crochet and knitting. One popular option is the Knit-Chek ruler, which has a cut-out section that makes it easy to count stitches and rows within a 4-inch square. This tool also includes holes for measuring hook sizes, which can be helpful when adjusting your gauge.
While a soft tape measure might seem convenient, it’s not the best choice for gauge measurement. The flexibility of the tape can lead to inaccurate readings. Instead, stick with rigid tools like plastic or wooden rulers, or invest in a dedicated gauge measuring tool. These will give you the most precise measurements, ensuring your projects turn out the right size.
The Impact of Incorrect Gauge on Your Projects
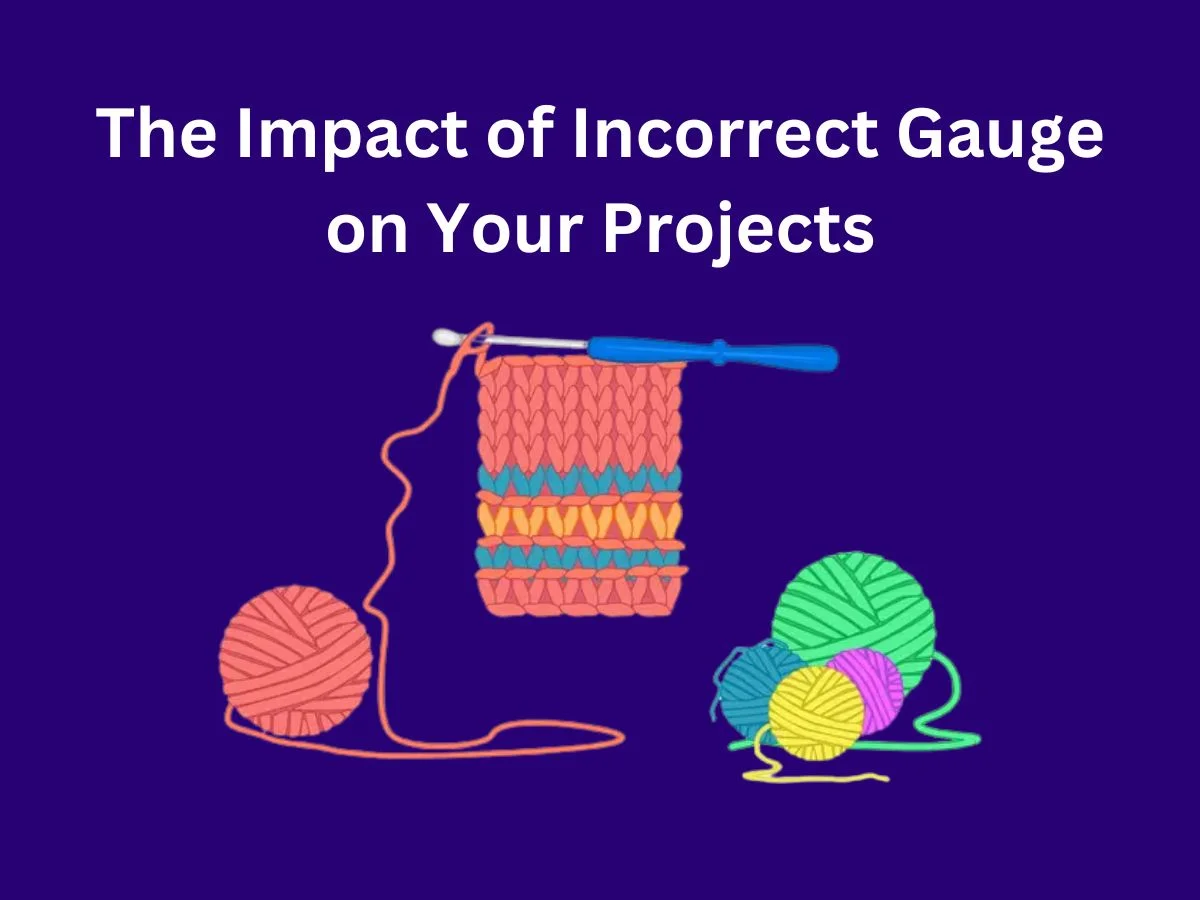
Getting your gauge right is crucial for the success of your crochet projects. When your gauge is off, it can lead to several issues that affect both the appearance and functionality of your finished item. The most obvious problem is sizing – if your stitches are too tight, your project will end up smaller than intended. Conversely, if your stitches are too loose, your project will be larger than expected.
Incorrect gauge doesn’t just affect size; it can also change the shape and drape of your project. For example, a sweater might not hang properly or a hat might not fit snugly if the gauge is off. This can be especially frustrating when you’ve spent hours working on a project, only to find it doesn’t look or fit as intended.
Another important consideration is yarn usage. If your gauge is tighter than the pattern specifies, you’ll use less yarn but might run out before finishing if the pattern requires precise amounts. On the other hand, looser gauge means you’ll use more yarn than expected, potentially running out before completion. By matching the correct gauge, you ensure that your project not only fits properly but also uses the right amount of yarn. For more wearable crochet pieces, check out How to Crochet a Classic Beanie: A Step-by-Step Guide, where gauge and fit play a critical role.
When to Prioritize Gauge (and When It’s Less Critical)
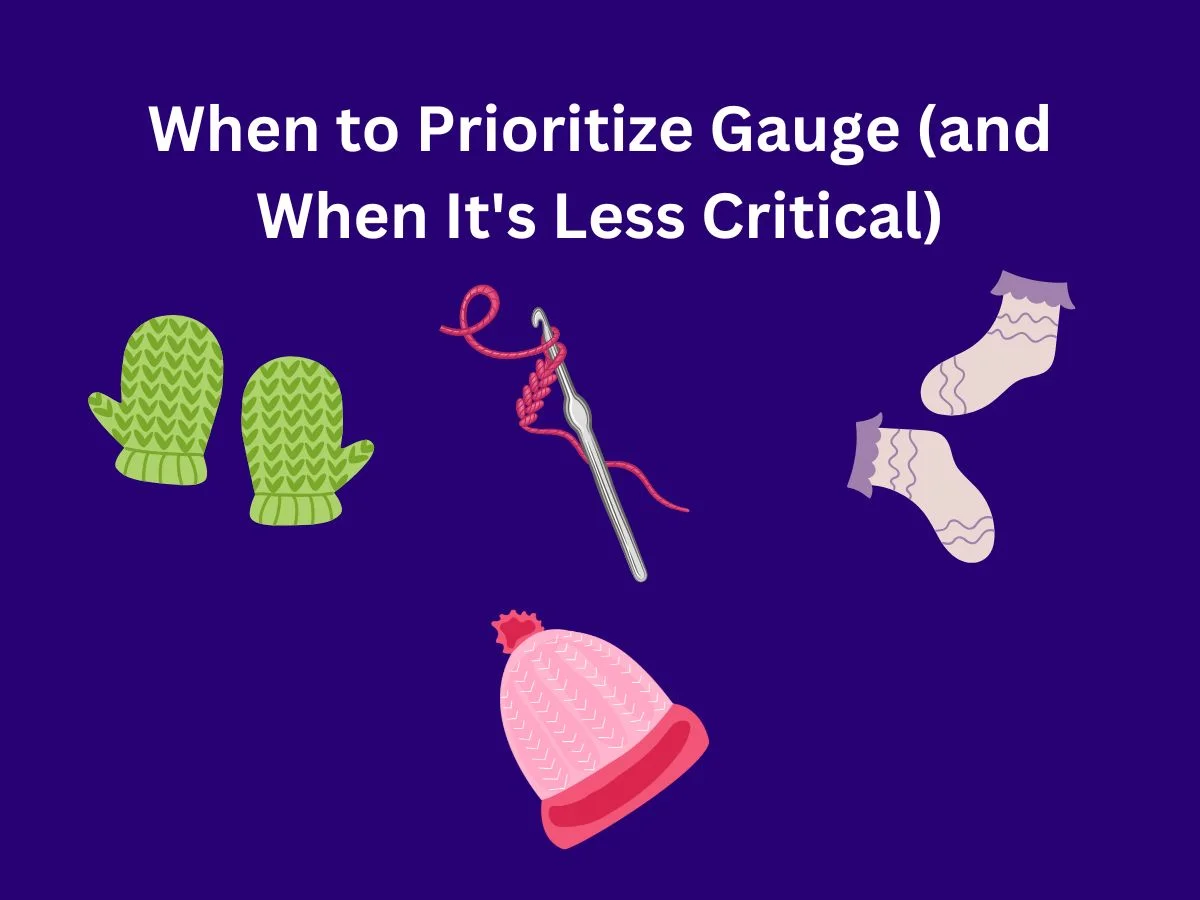
Understanding when to focus on gauge and when it’s less important can save you time and frustration in your crochet projects. Gauge is most critical for items where fit matters, such as garments, hats, gloves, and socks. For these projects, taking the time to create a gauge swatch and adjust your hook size or tension is essential to ensure the finished item fits as intended.
However, there are some projects where gauge is less crucial. Items like scarves, blankets, and decorative pieces often don’t require exact sizing to be functional or attractive. In these cases, you might choose to skip the gauge swatch and dive right into the project. Keep in mind, though, that even for these items, gauge can affect your yarn usage and the overall look of the finished piece.
It’s also worth noting that some patterns, especially those for beginners or quick projects, might not include gauge information. In these cases, the designer has likely created a pattern that’s forgiving in terms of sizing. However, as you advance in your crochet skills and tackle more complex projects, paying attention to gauge becomes increasingly important for achieving professional-looking results.
Tips for Adjusting Your Gauge
Adjusting your gauge is key to getting your crochet projects to turn out the right size. The easiest way to fix gauge issues is by changing your hook size. If you have too many stitches in your swatch, your gauge is too tight. Try using a larger hook to spread out the stitches. If you have too few stitches, your gauge is too loose. Switch to a smaller hook to tighten things up.
Sometimes, you might need to adjust your tension instead of changing hooks. If your stitch width is correct but the rows are off, try changing how you hold the yarn. Pull the loop higher before finishing each stitch to make your rows taller, or pull it tighter to make them shorter. You can also try using a slightly different weight of yarn if hook changes aren’t enough.
Remember, it’s normal for your gauge to be different from the pattern. Don’t get discouraged if you need to make adjustments. Take your time and make multiple swatches if needed. It’s better to spend extra time on gauge than to finish a project that doesn’t fit.
Troubleshooting Common Gauge Issues
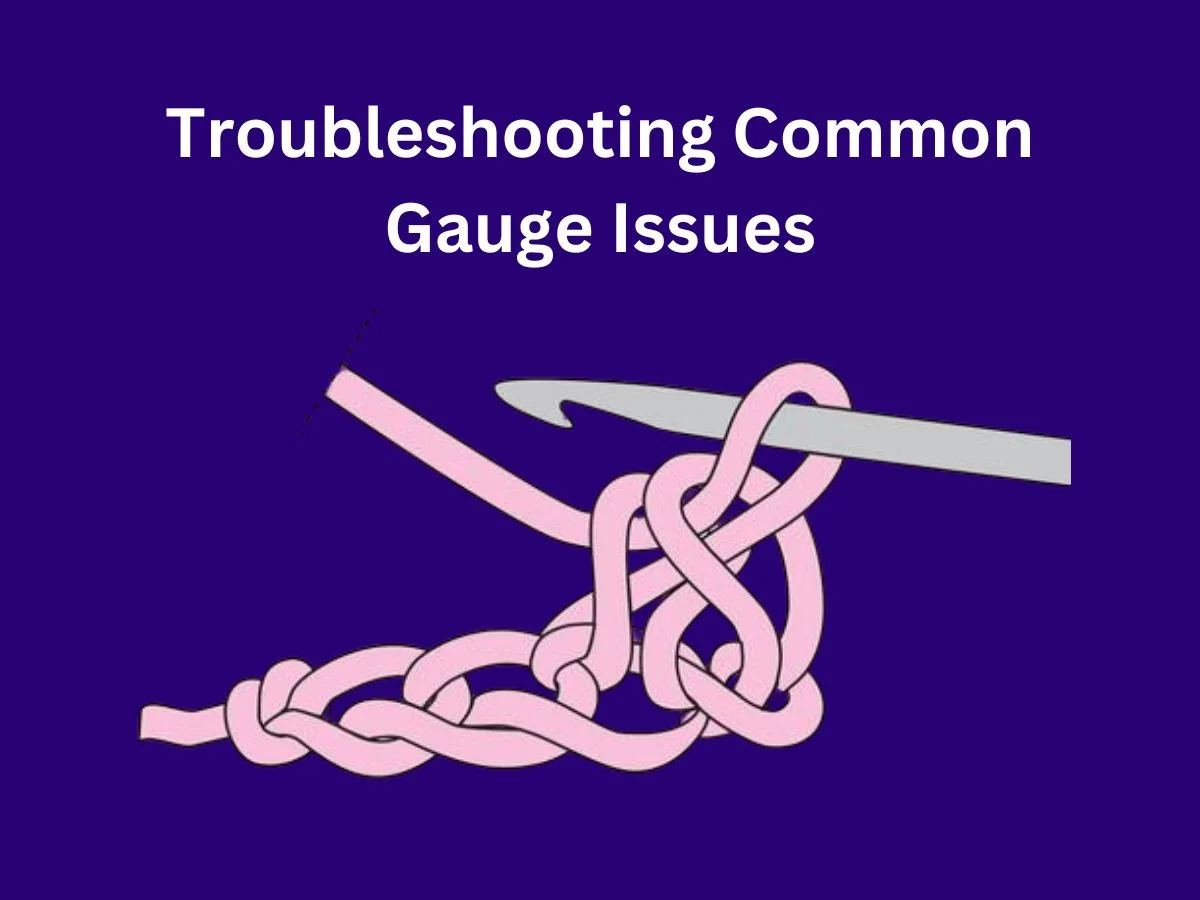
When your gauge is off, it can cause several problems with your project. If your gauge is too tight, your project will end up smaller than intended. If it’s too loose, your project will be larger. This can affect how the item fits and looks when it’s done.
Inconsistent gauge can also cause issues. If your tension changes as you crochet, your project might end up uneven. Try to maintain a steady rhythm as you work. It can help to take breaks and check your gauge periodically, especially on larger projects.
Another common issue is running out of yarn or having too much left over. If your gauge is tighter than the pattern, you’ll use less yarn but might run out before finishing. If it’s looser, you’ll use more yarn than expected. Getting your gauge right helps ensure you use the correct amount of yarn for your project.
Gauge Swatches: Your Secret Weapon for Perfect Sizing
Gauge swatches are small samples you make before starting your main project. They help you check if your stitches match the size needed for the pattern. To make a gauge swatch, use the yarn and hook size suggested in the pattern. Crochet a square that’s a bit larger than the gauge measurement given.
When measuring your swatch, focus on the center area. The edges can be uneven, so measuring the middle gives you a more accurate gauge. Use a ruler or gauge measuring tool to count how many stitches and rows fit in the specified area, usually 4 inches by 4 inches.
Don’t skip making a gauge swatch, especially for projects where size matters, like garments. It might seem like extra work, but it can save you time and frustration in the long run. If your swatch doesn’t match the pattern’s gauge, you can adjust your hook size or tension before starting the main project. This helps ensure your finished item will be the right size.
Final Thoughts
Now you have all the tools you need to conquer crochet gauge! Make sure to implement these techniques so you won’t worry about your sizes going wrong again. Note that with patience and practice, you can create perfectly sized projects every time.
Don’t be afraid to experiment with different hooks, yarns, and tension to find what works best for you. If you require any more assistance or have questions, feel free to contact me at info@madeehamedia.com. Happy crocheting, and create amazing crochet masterpieces!
Frequently Asked Questions
Q1: What is crochet gauge?
A: It measures the size of your stitches and rows within a specific area, usually 4×4 inches.
Q2: Why does gauge matter in crochet?
A: It affects the size, fit, yarn usage, and overall look of your projects.
Q3: How do I measure crochet gauge?
A: Make a swatch, measure stitches and rows within 4 inches, and compare to the pattern.
Q4: What tools do I need to measure gauge?
A: A ruler or gauge measuring tool are best for accurate measurements
Q5: What happens if my gauge is incorrect?
A: Your project may be the wrong size, have a different shape, or use the wrong amount of yarn.
Q6: When should I prioritize gauge?
A: For items where fit matters, like garments, hats, and gloves.
Q7: How can I adjust my gauge?
A: Change your hook size, adjust your tension, or use a different weight of yarn.
Q8: What if my gauge is too tight?
A: Use a larger hook to loosen your stitches.
Q9: What if my gauge is too loose?
A: Use a smaller hook to tighten your stitches.
Q10: Why are gauge swatches important?
A: They help you check your gauge and make adjustments before starting your project.